Electronic progress
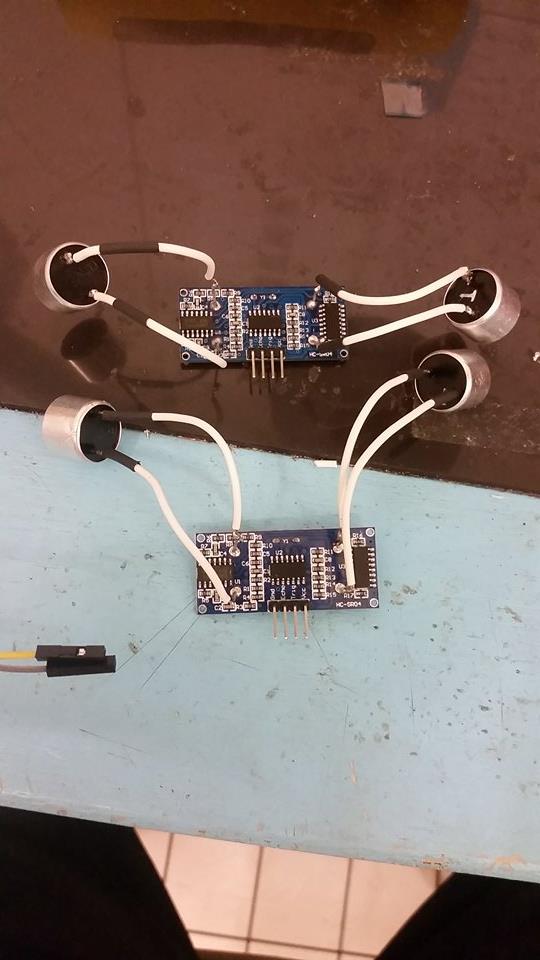
16 Feb 2016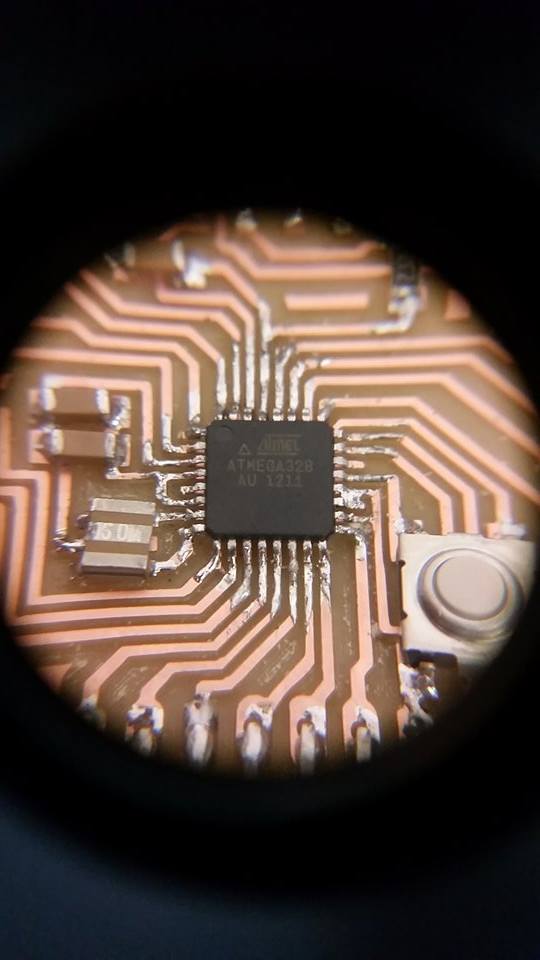 Once the Atmega as been programmed, you can hook up all the sensors and in the places you need them. Make sure all the wires are long enough and not getting in the way of other components.
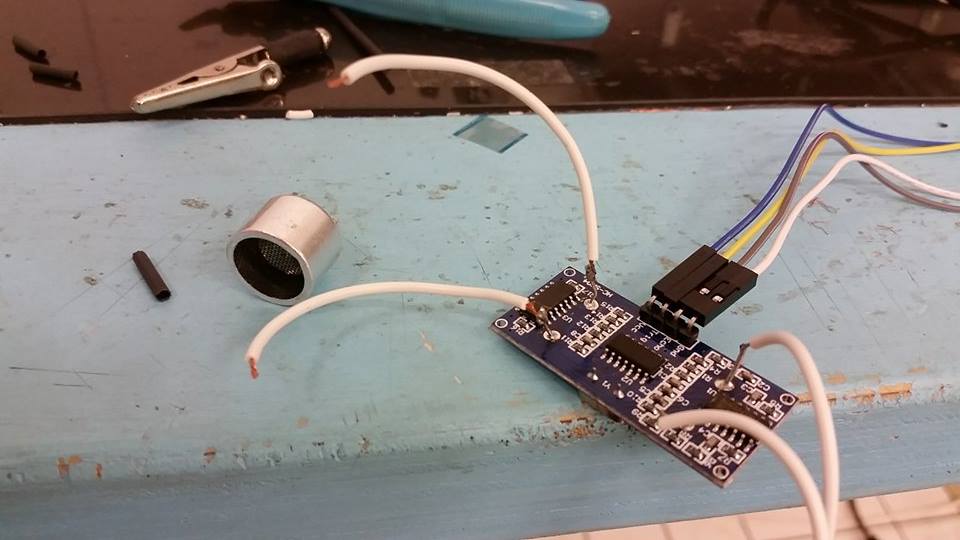
 The pins on the side might need to be reinforced with hot glue, because they will break if you are taking connections on and off all the time
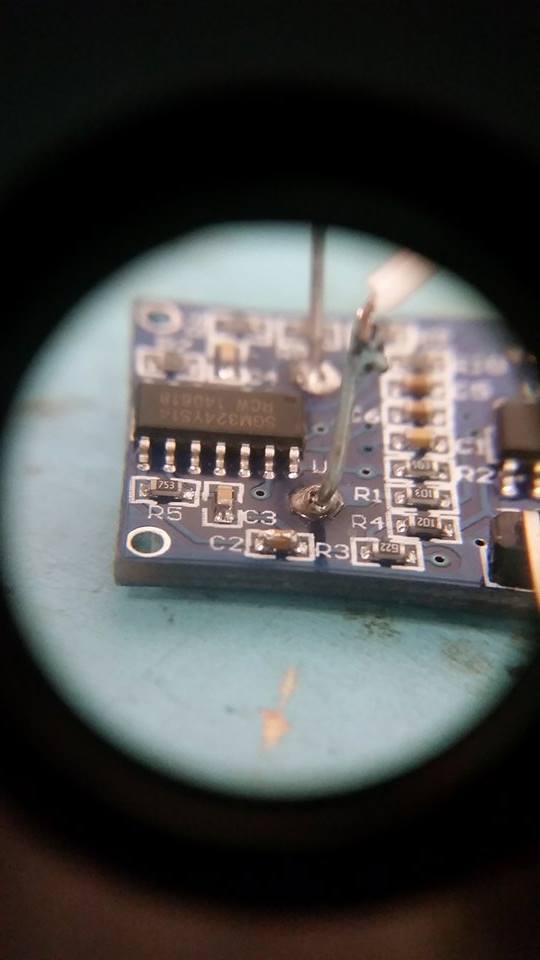
 If you keep getting errors, make sure all the connections are in the right place and the code is correct.
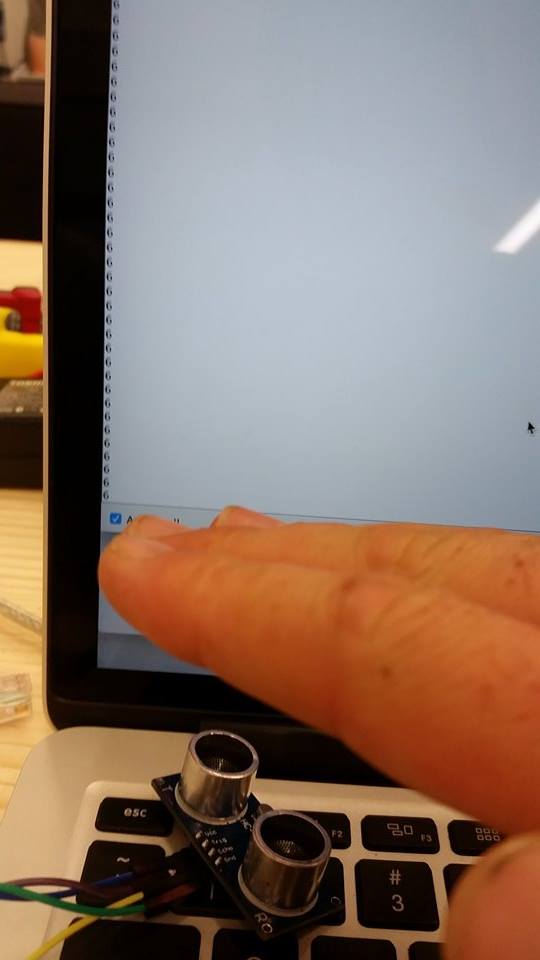
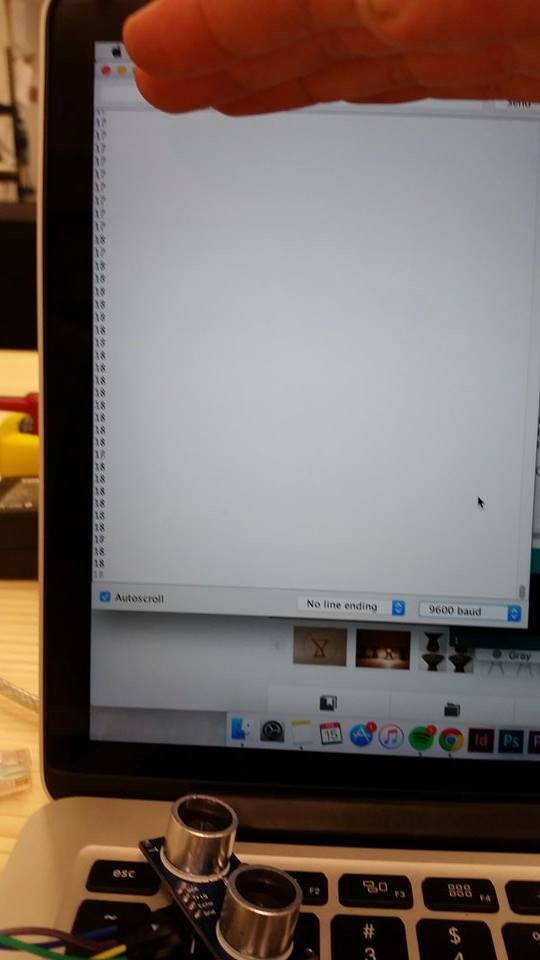 If you click the ‘serial monitor’ button in the top right corner of Arduino, it will show a new window with numbers down one side. This intercates whether the sensors are being read through the fabuino. The highter you rase your hand, the higher the numbers read etc.
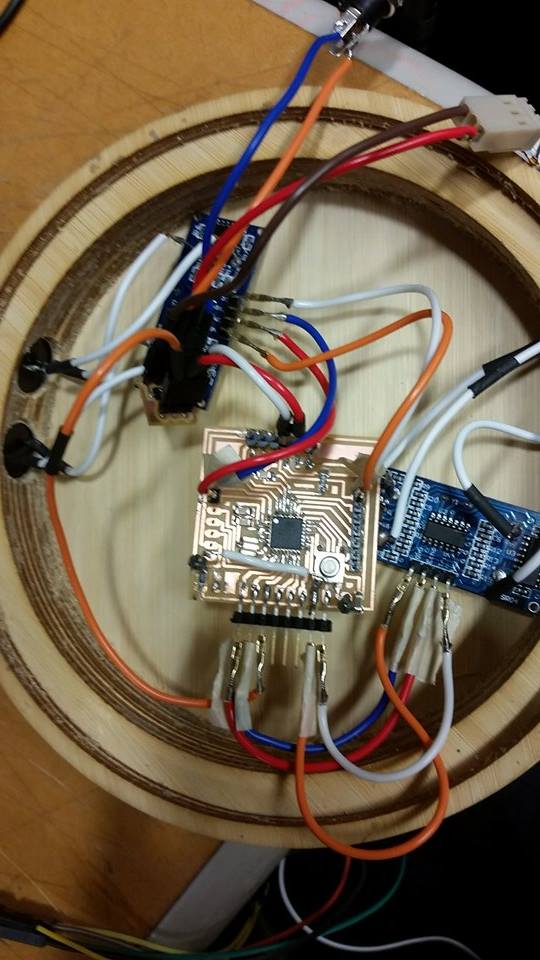
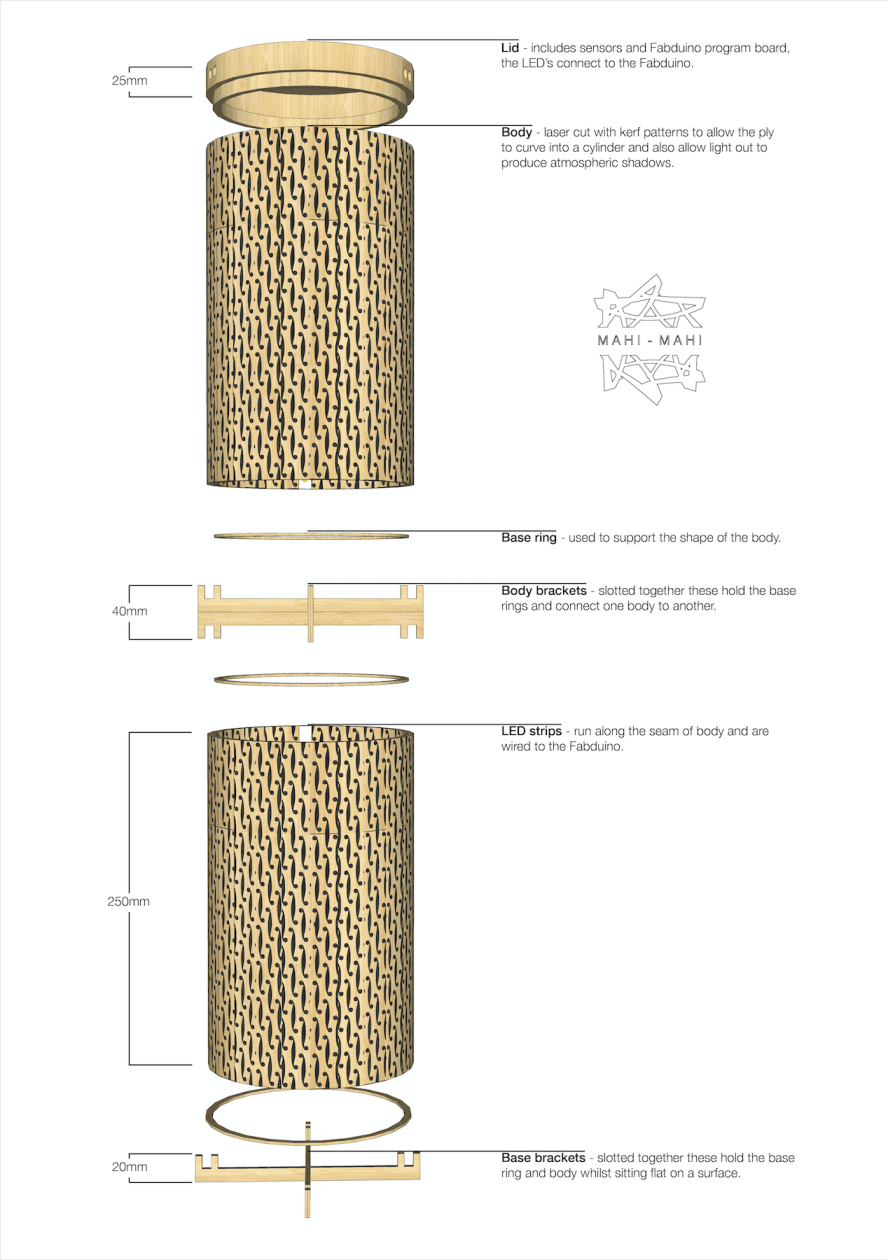
 installing the components into the lid of the light.
 Written by Fin Photo by Fin
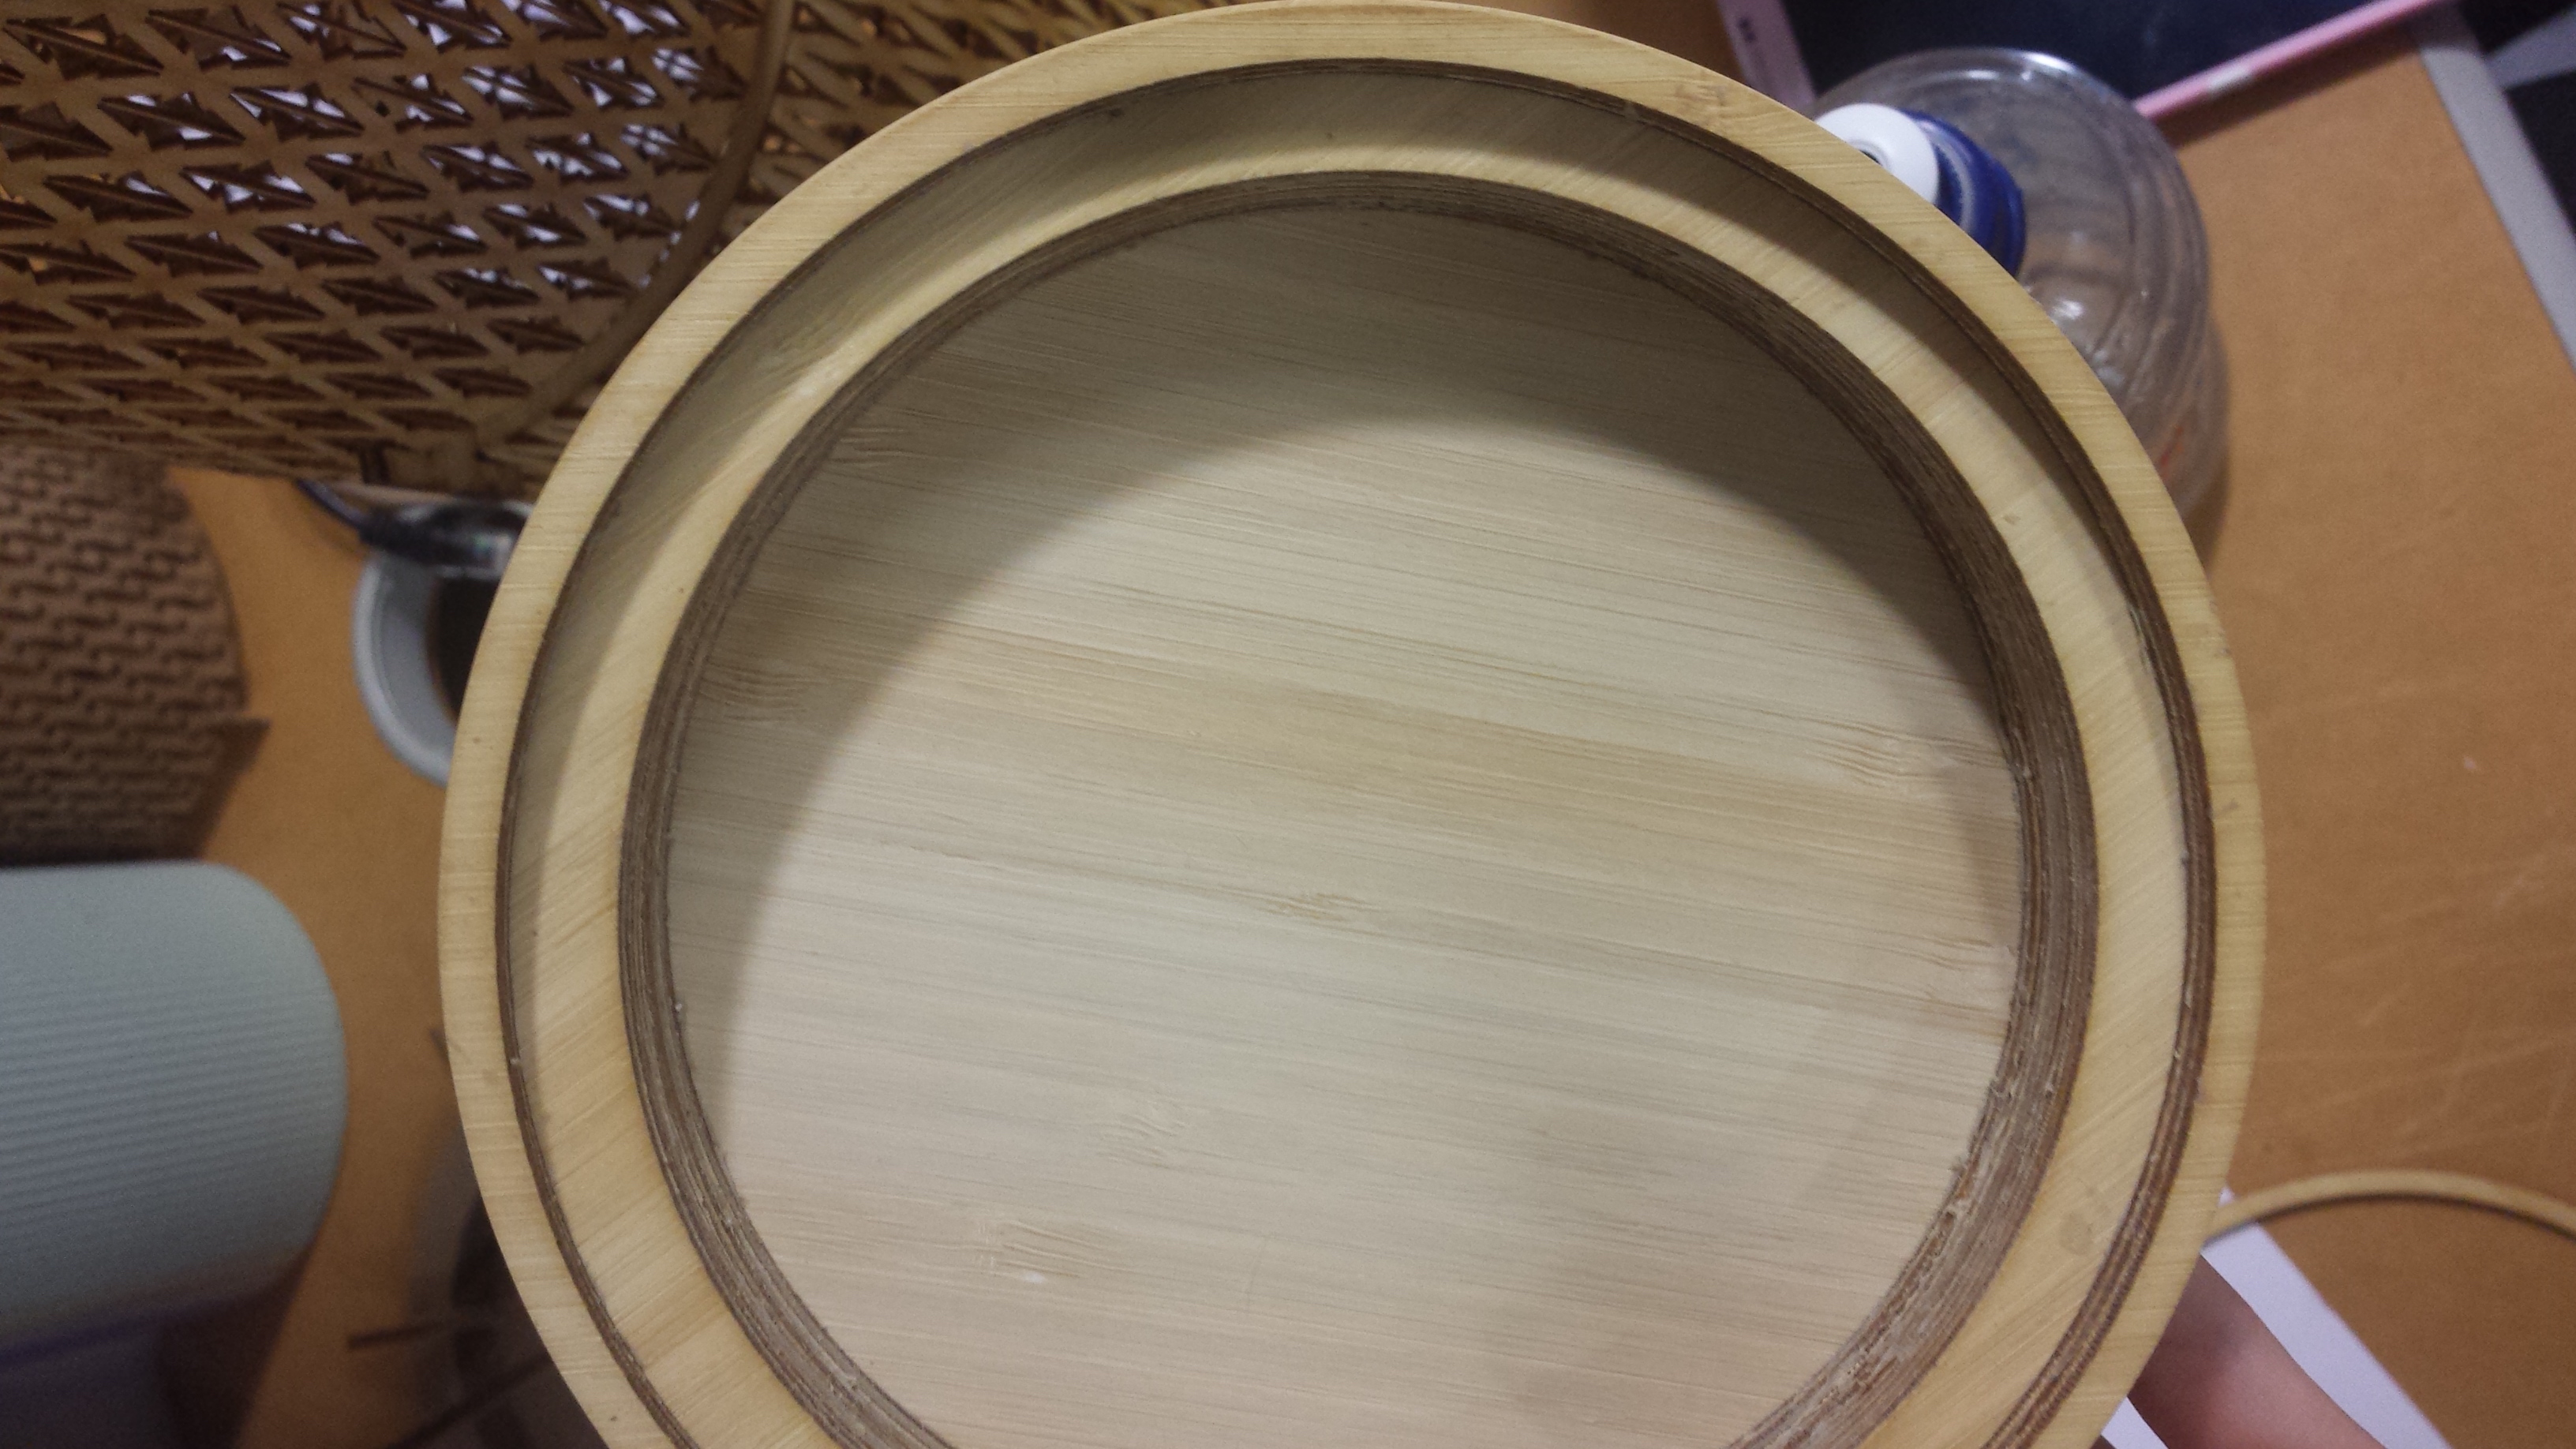
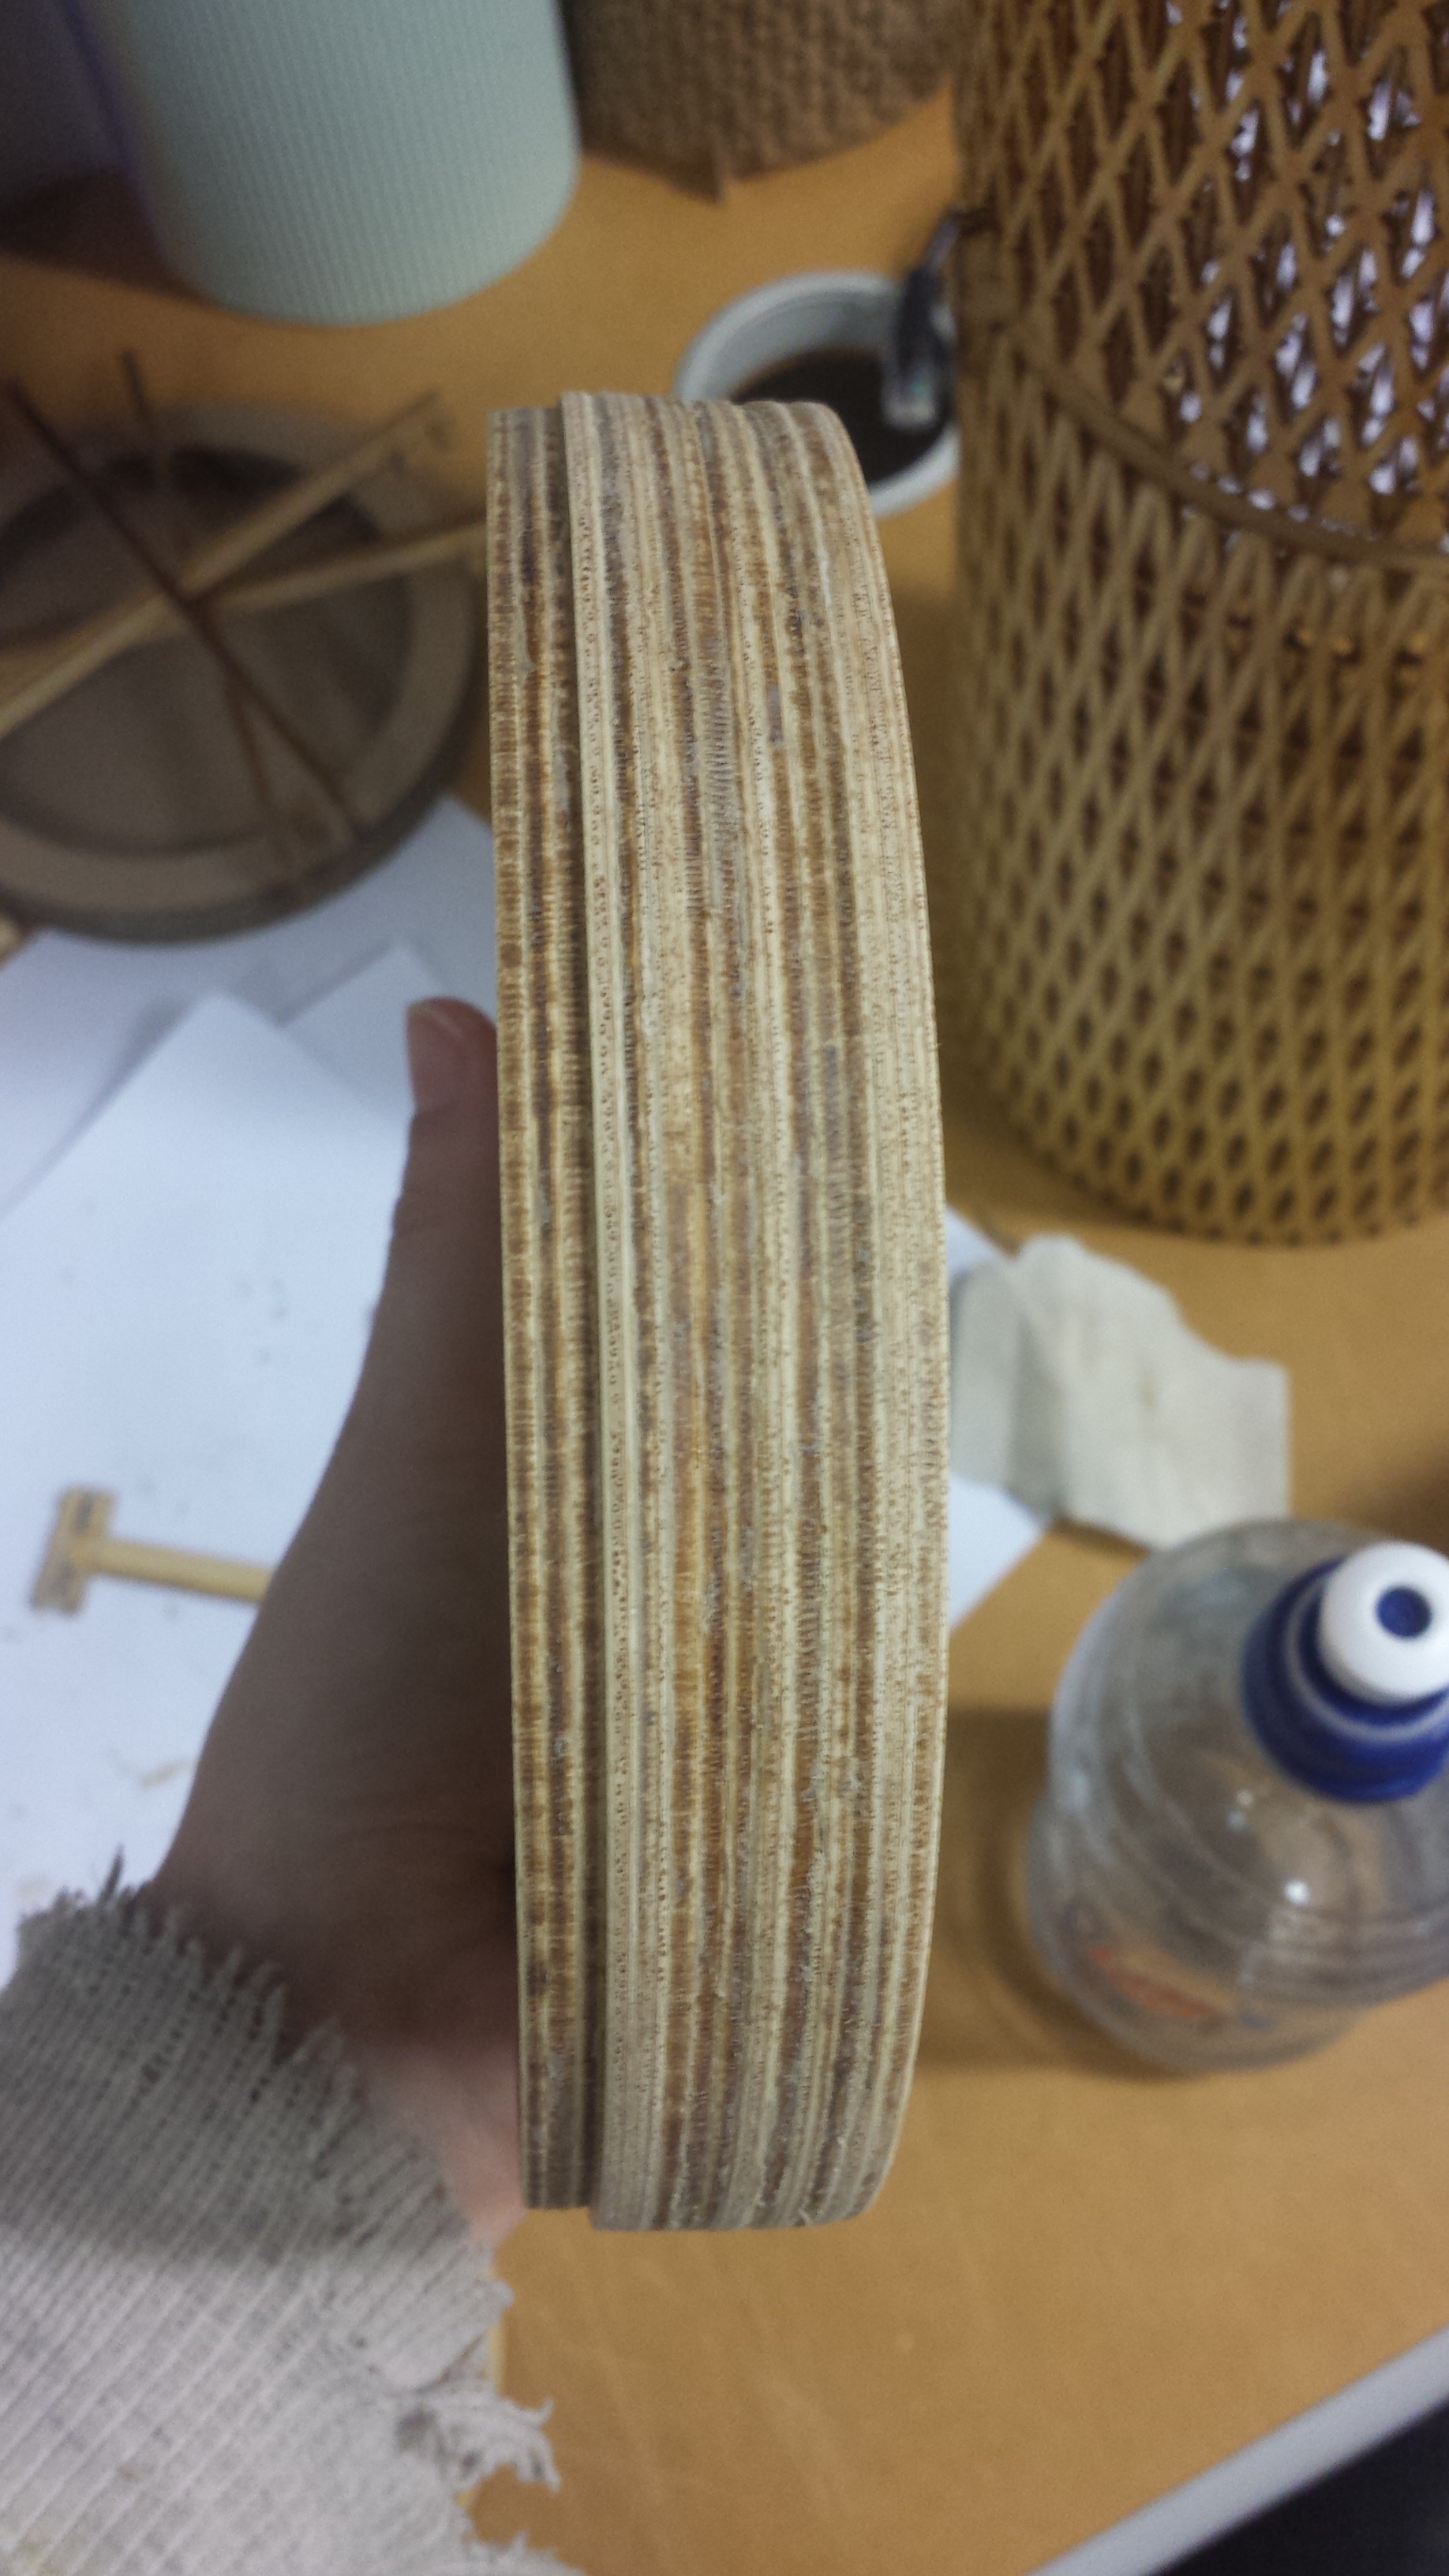

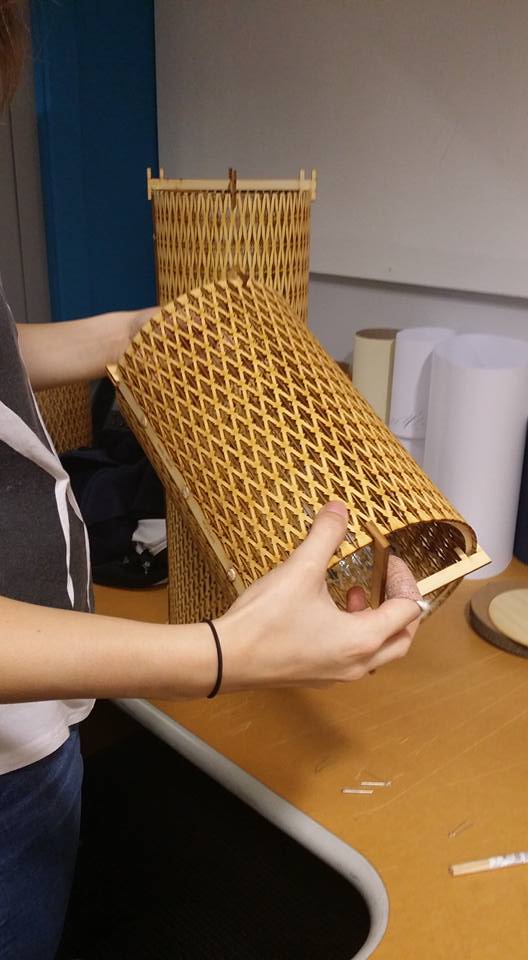
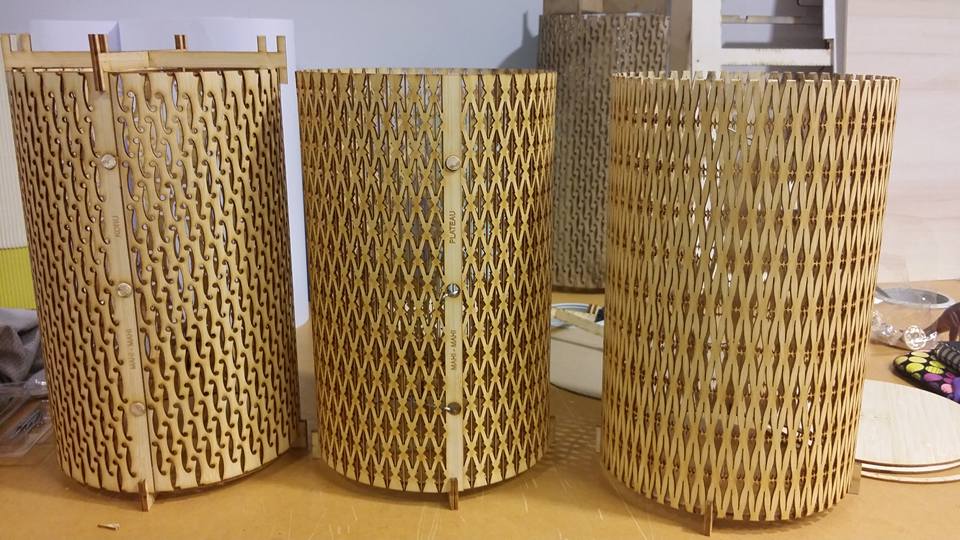 So here are the models that we have lasercutted today
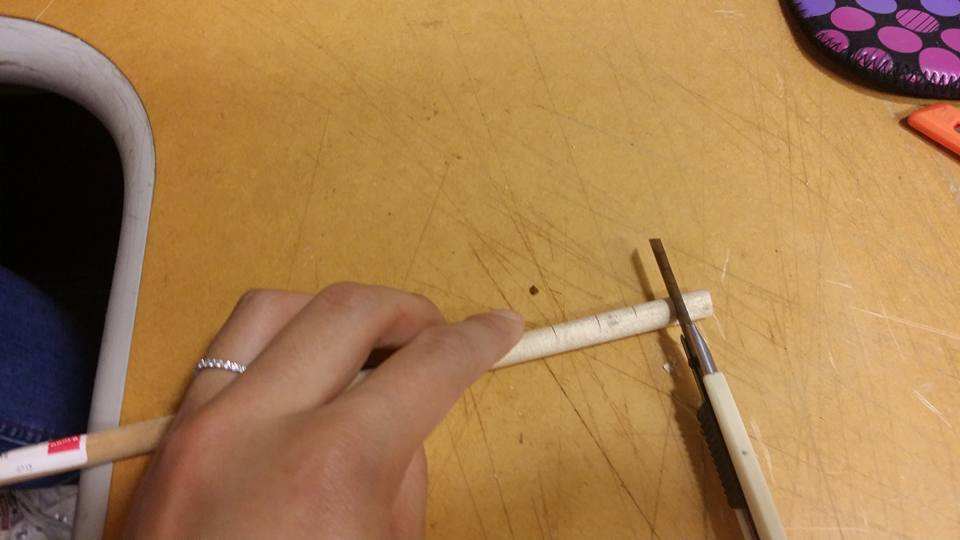 I have cut dowels into little pieces so we could pin up our models together
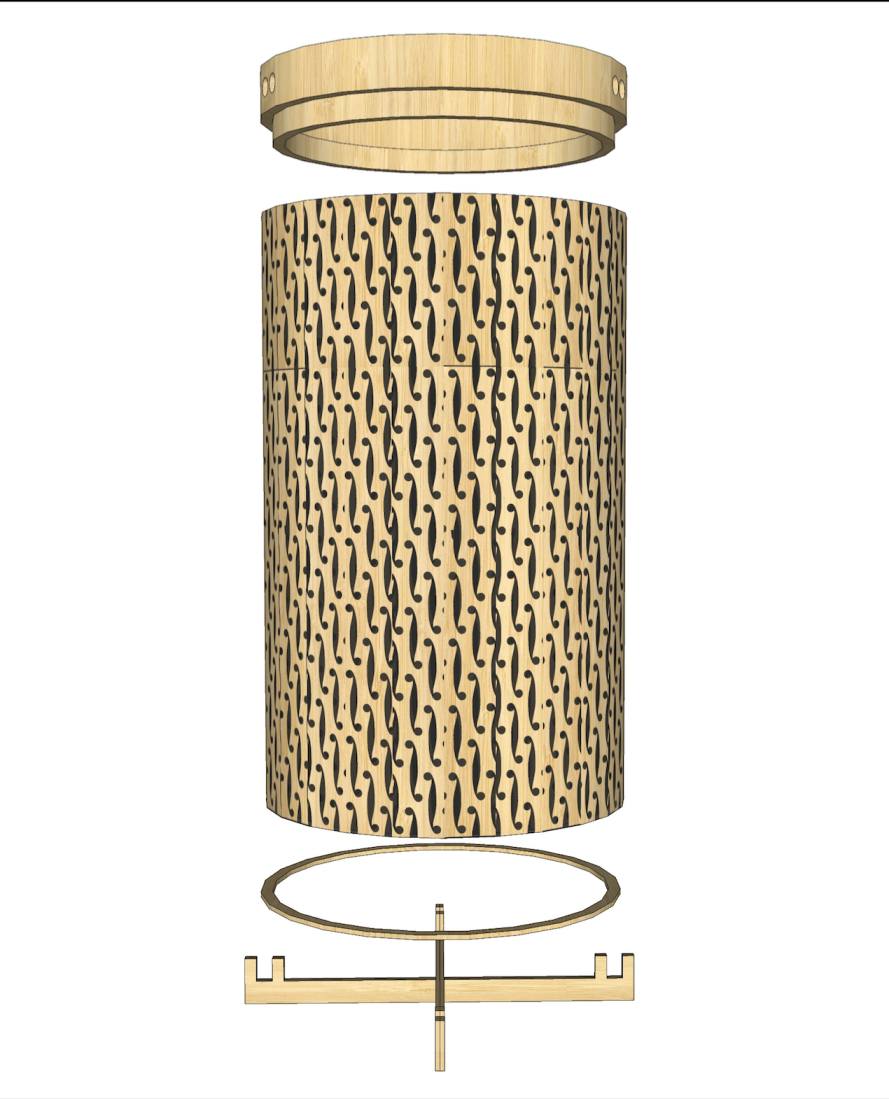
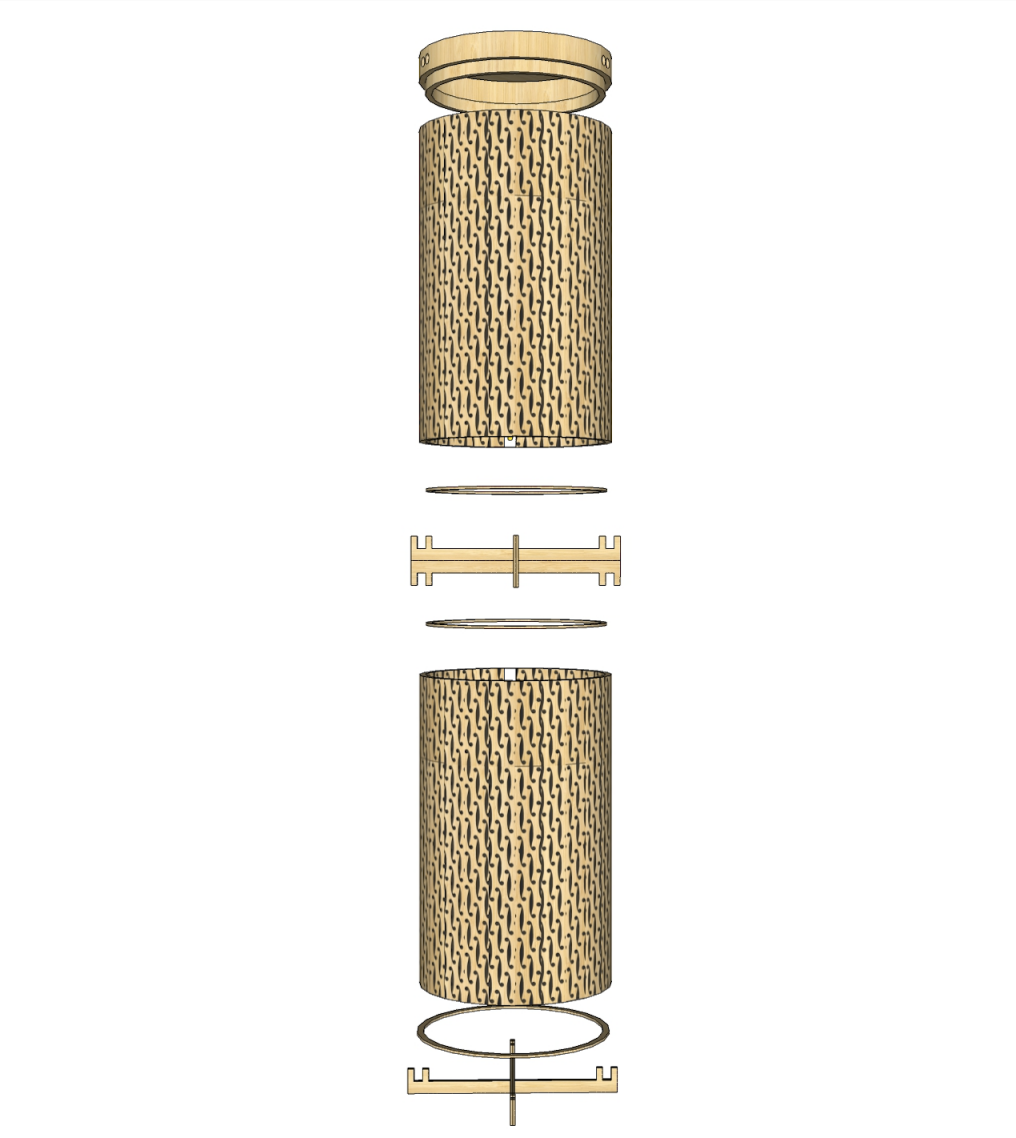
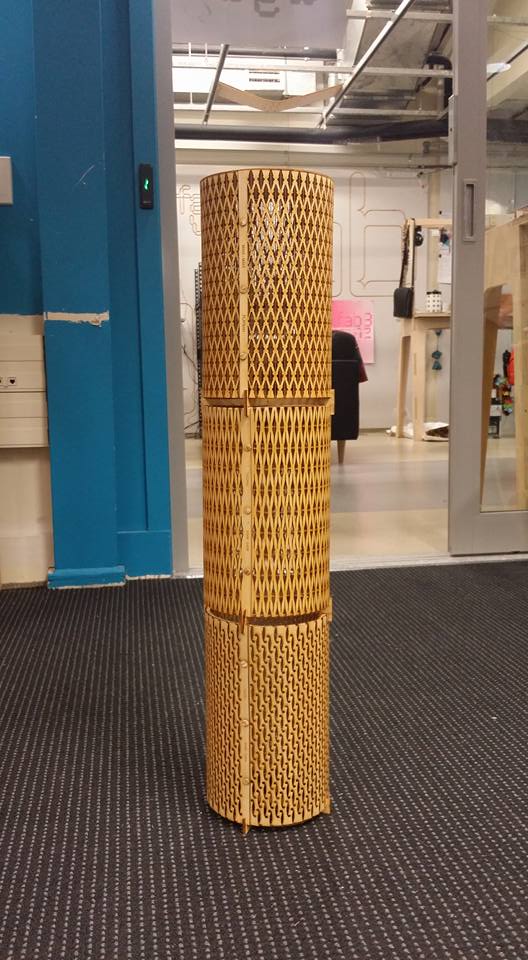 This is our finalized model we are going to cut out rest of the pieces for the lid tomorrow with the laser cutter and we are planning to buy the power plug from Jaycar to work on our final arduino.
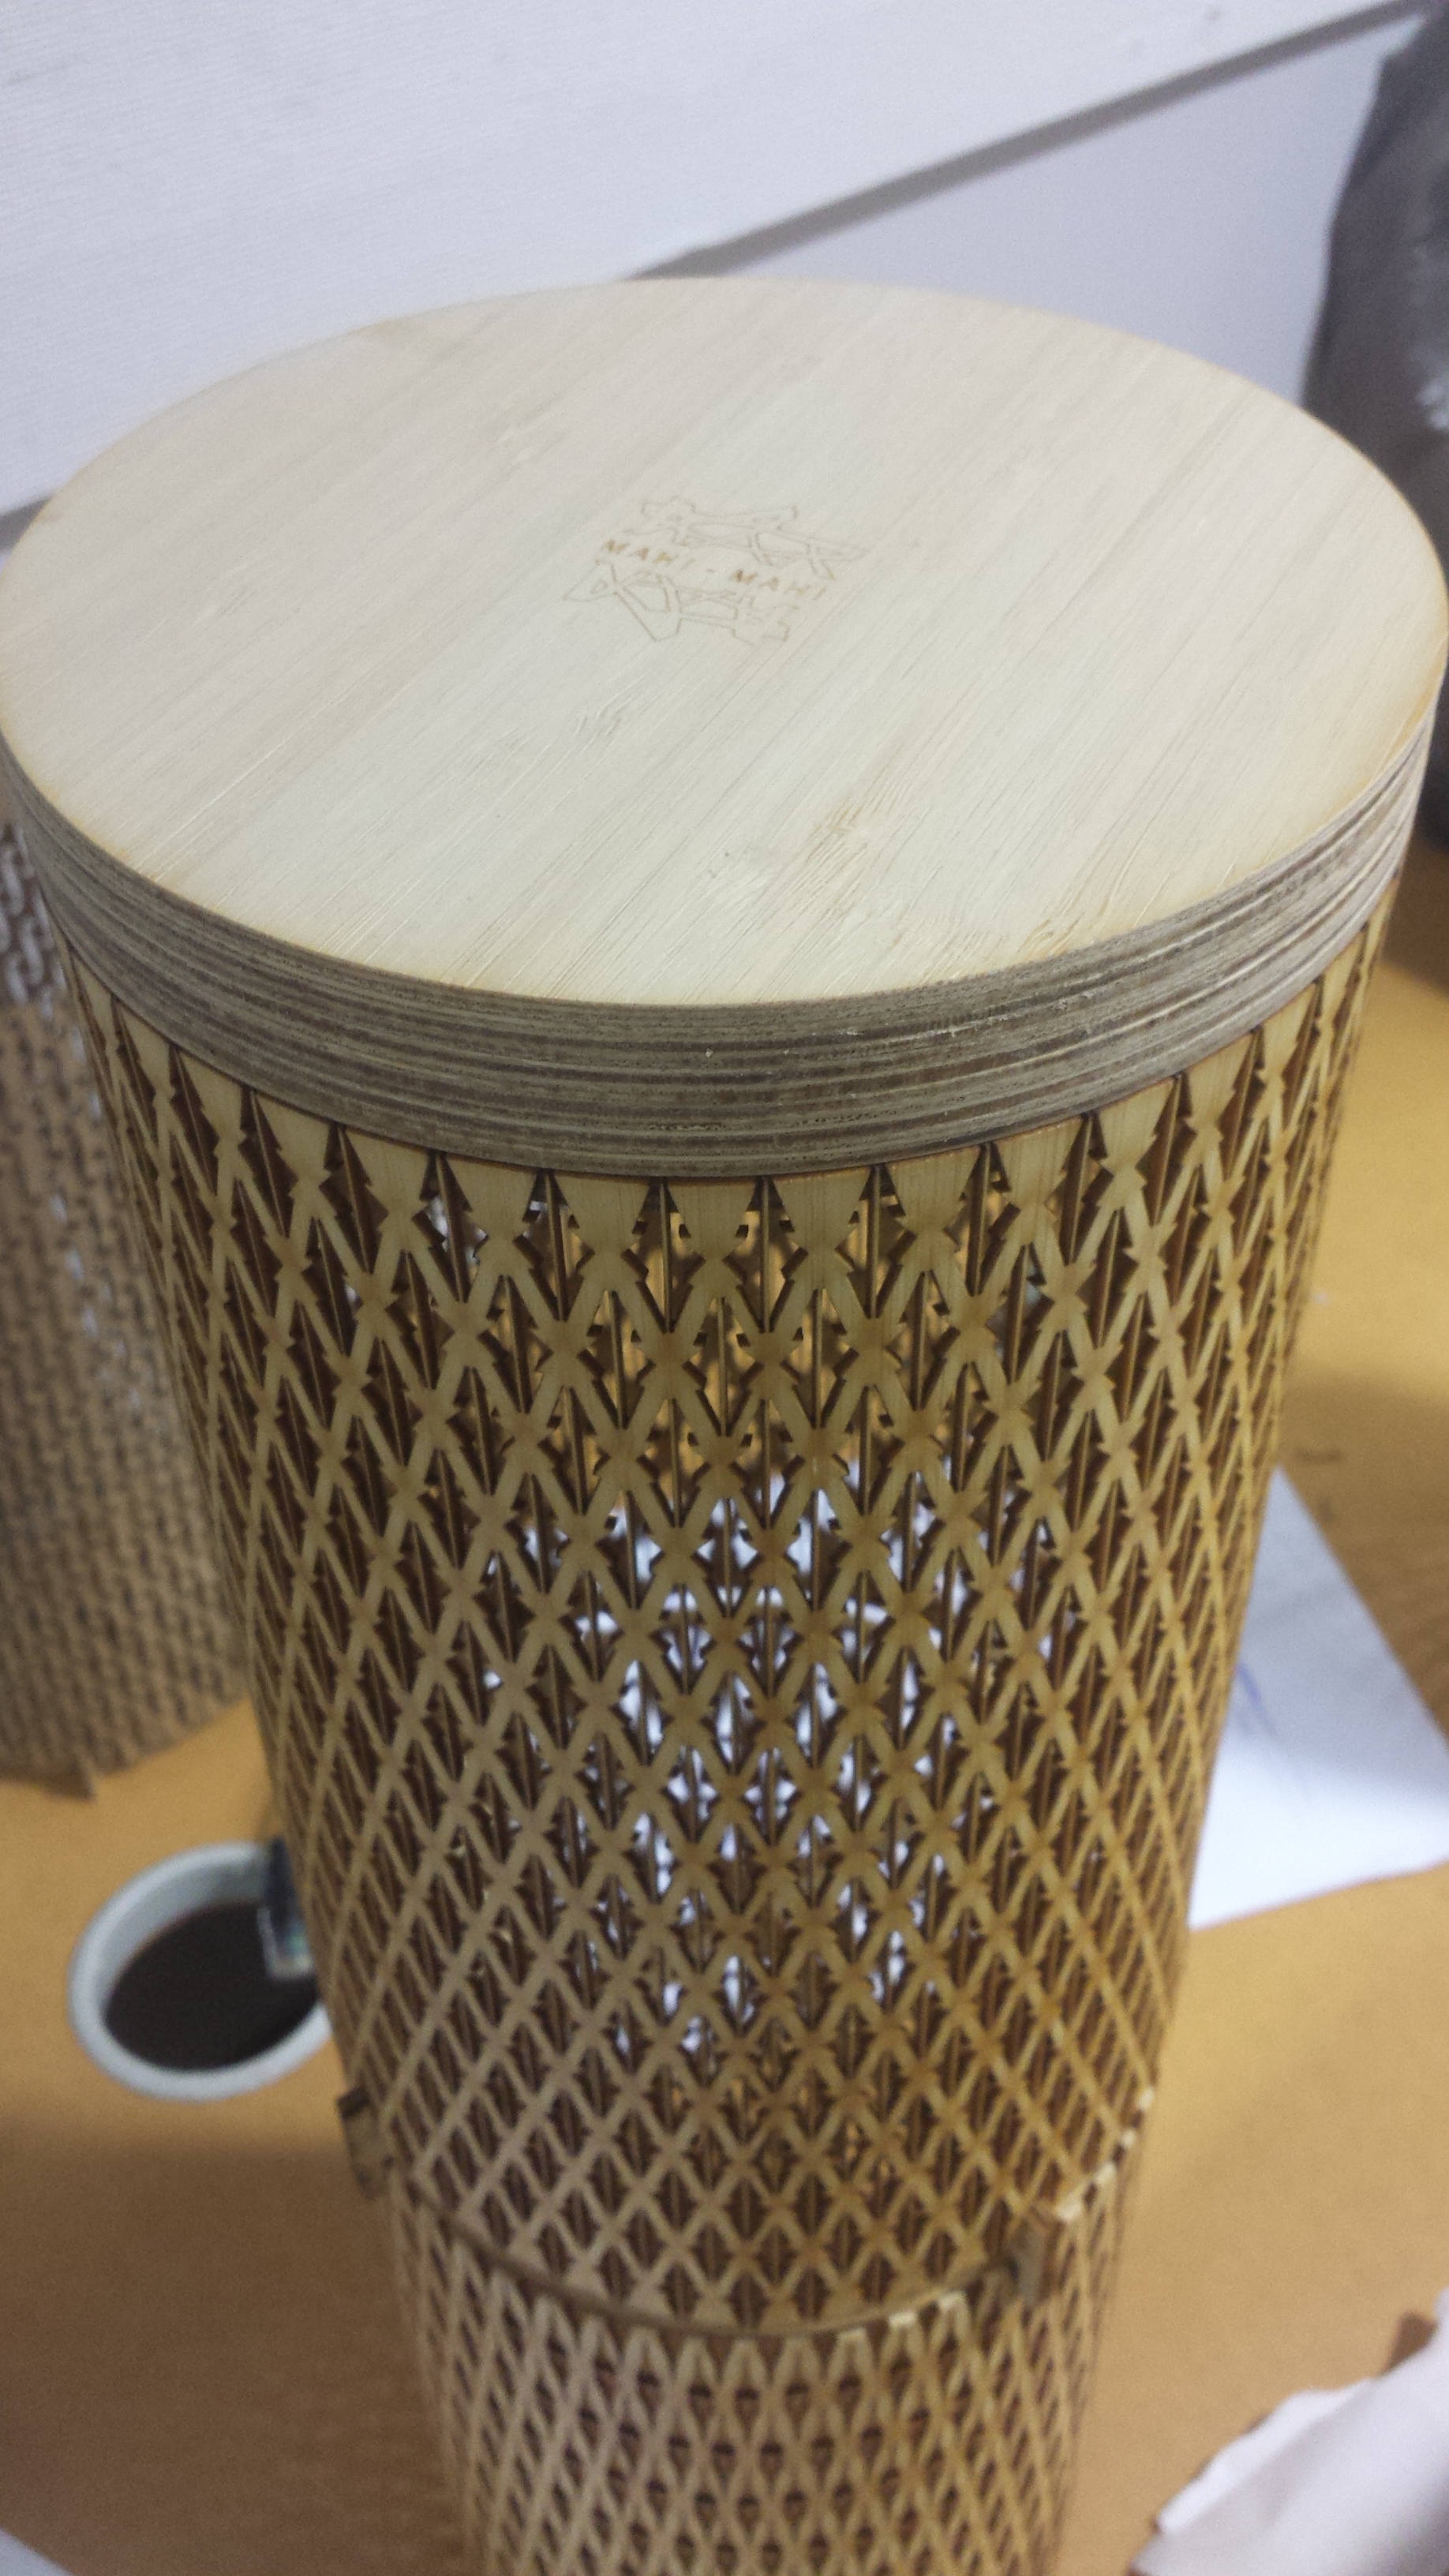
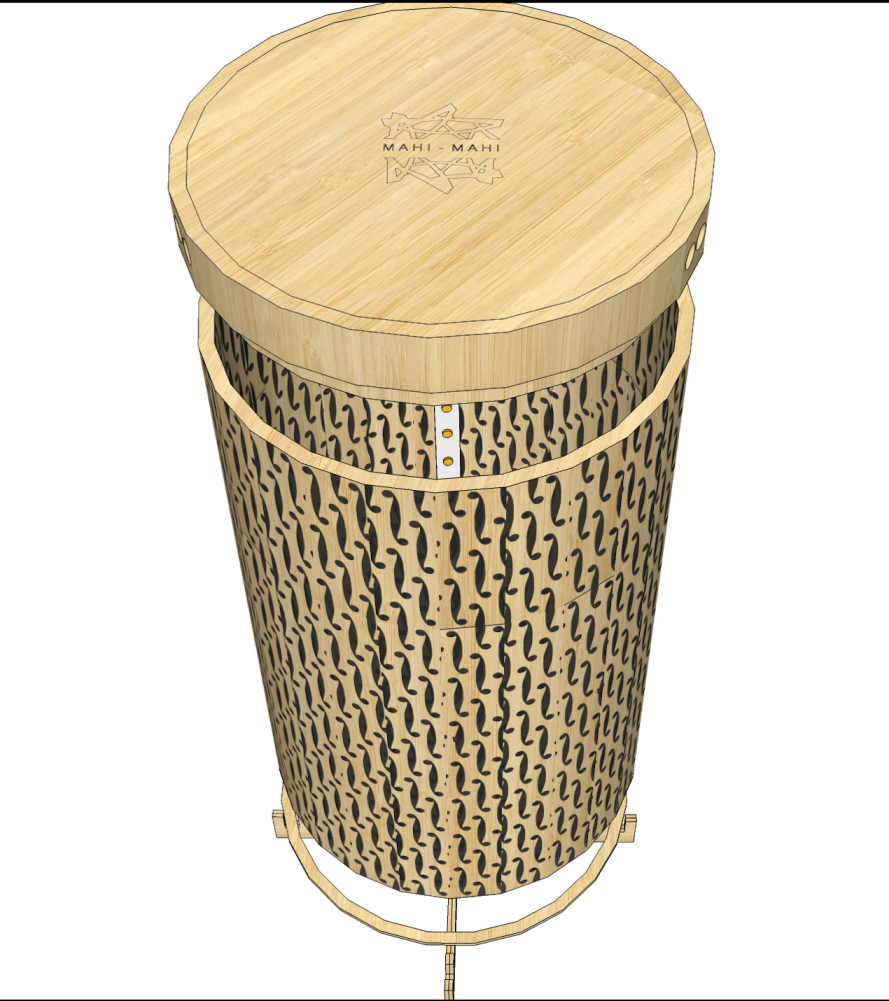
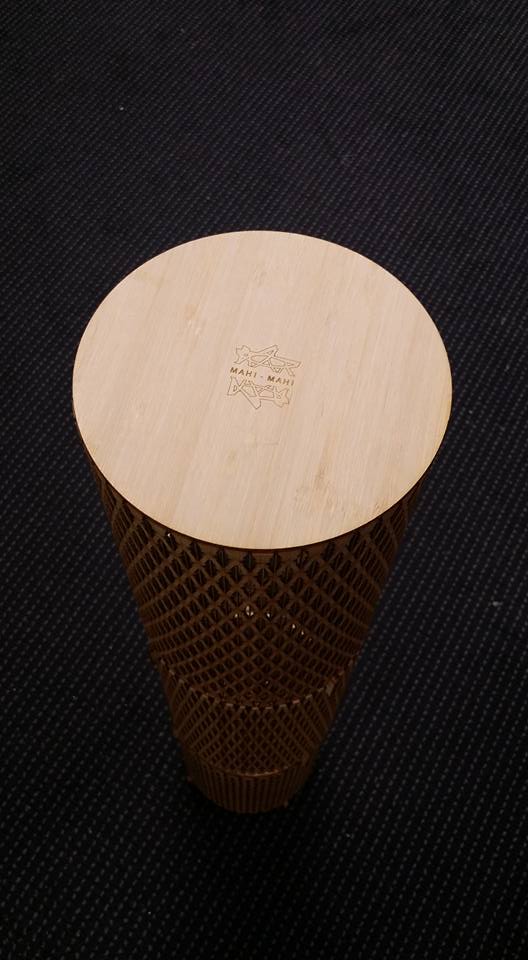 New MAHI-MAHI Logo engraved onto the lid
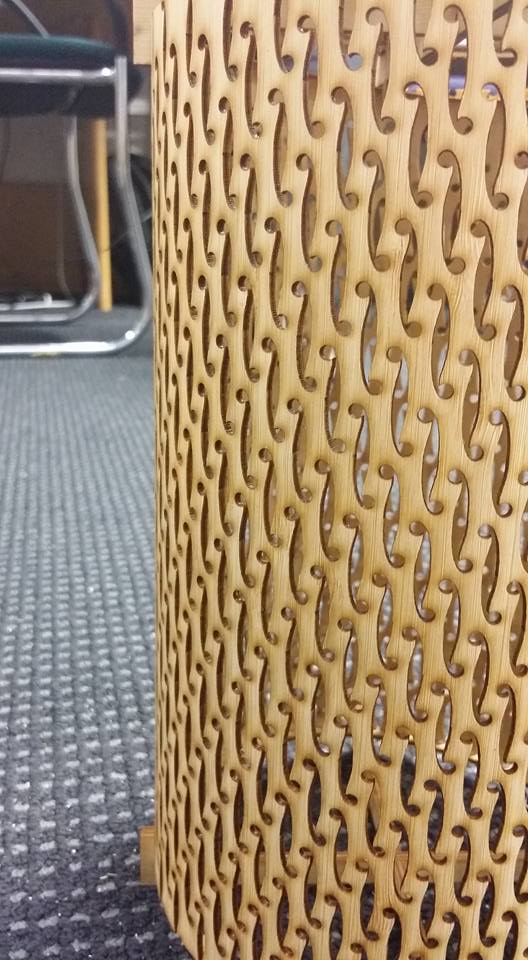
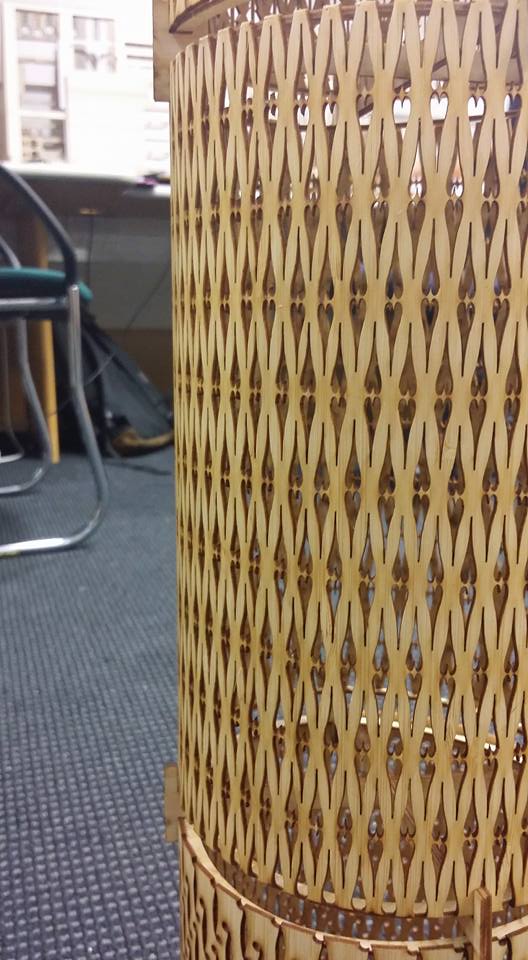
 NZ motif Patterns in detail
Fin is planning to post what he has done on the blog with the arduino :)
NZ motif Patterns in detail
Fin is planning to post what he has done on the blog with the arduino :)