Beyond Piecemeal
Things we did this week:
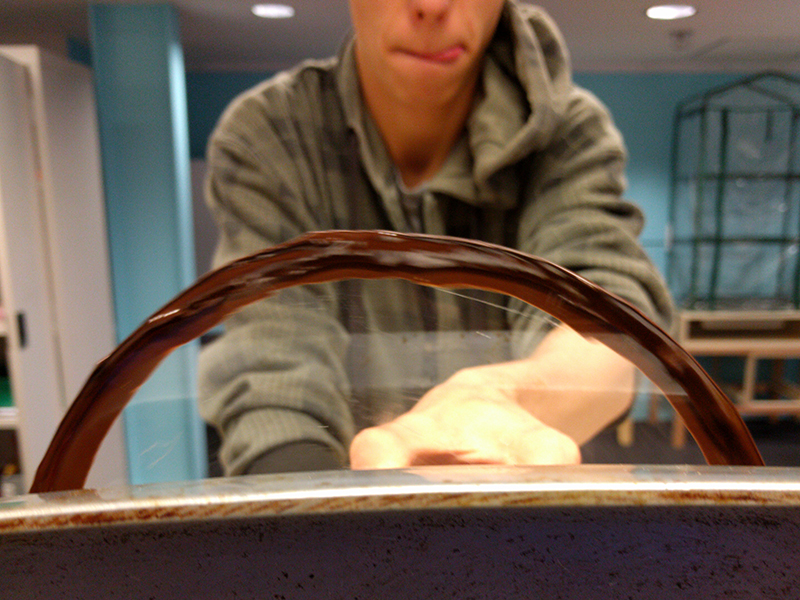
This week we hit the ground running. Starting off by testing the new chocolate tempering trough and wheel that we had assembled last time. The trough is heated by an electric element and scooped up by the tempering wheel. We realised that for the system to work effectively it needs to have more chocolate in the tank. Possibly as much as 25% full to maintain a consistent flow rate.
We hooked up a simple relay with a timing circuit to regulate the temperature of the electric element. It read the value from a potentiometer and used this to control the duration of heating cycles on the element. Worked well, the real version will have sensor to automate this. (Code here)
Looking forward:
Until very recently this project has been heavily research driven. A lot of the systems and solutions we’ve been exploring were just our best guess at a likely option. As such it’s been really hard to predict where the sticking points would be. The completion of testing today means we have now done a pass over (almost) every aspect of the printer. Moving forward we want to combine the various systems in a more unified solution. To achieve this we’re iterating on a number of areas.
Sketching our ideas…
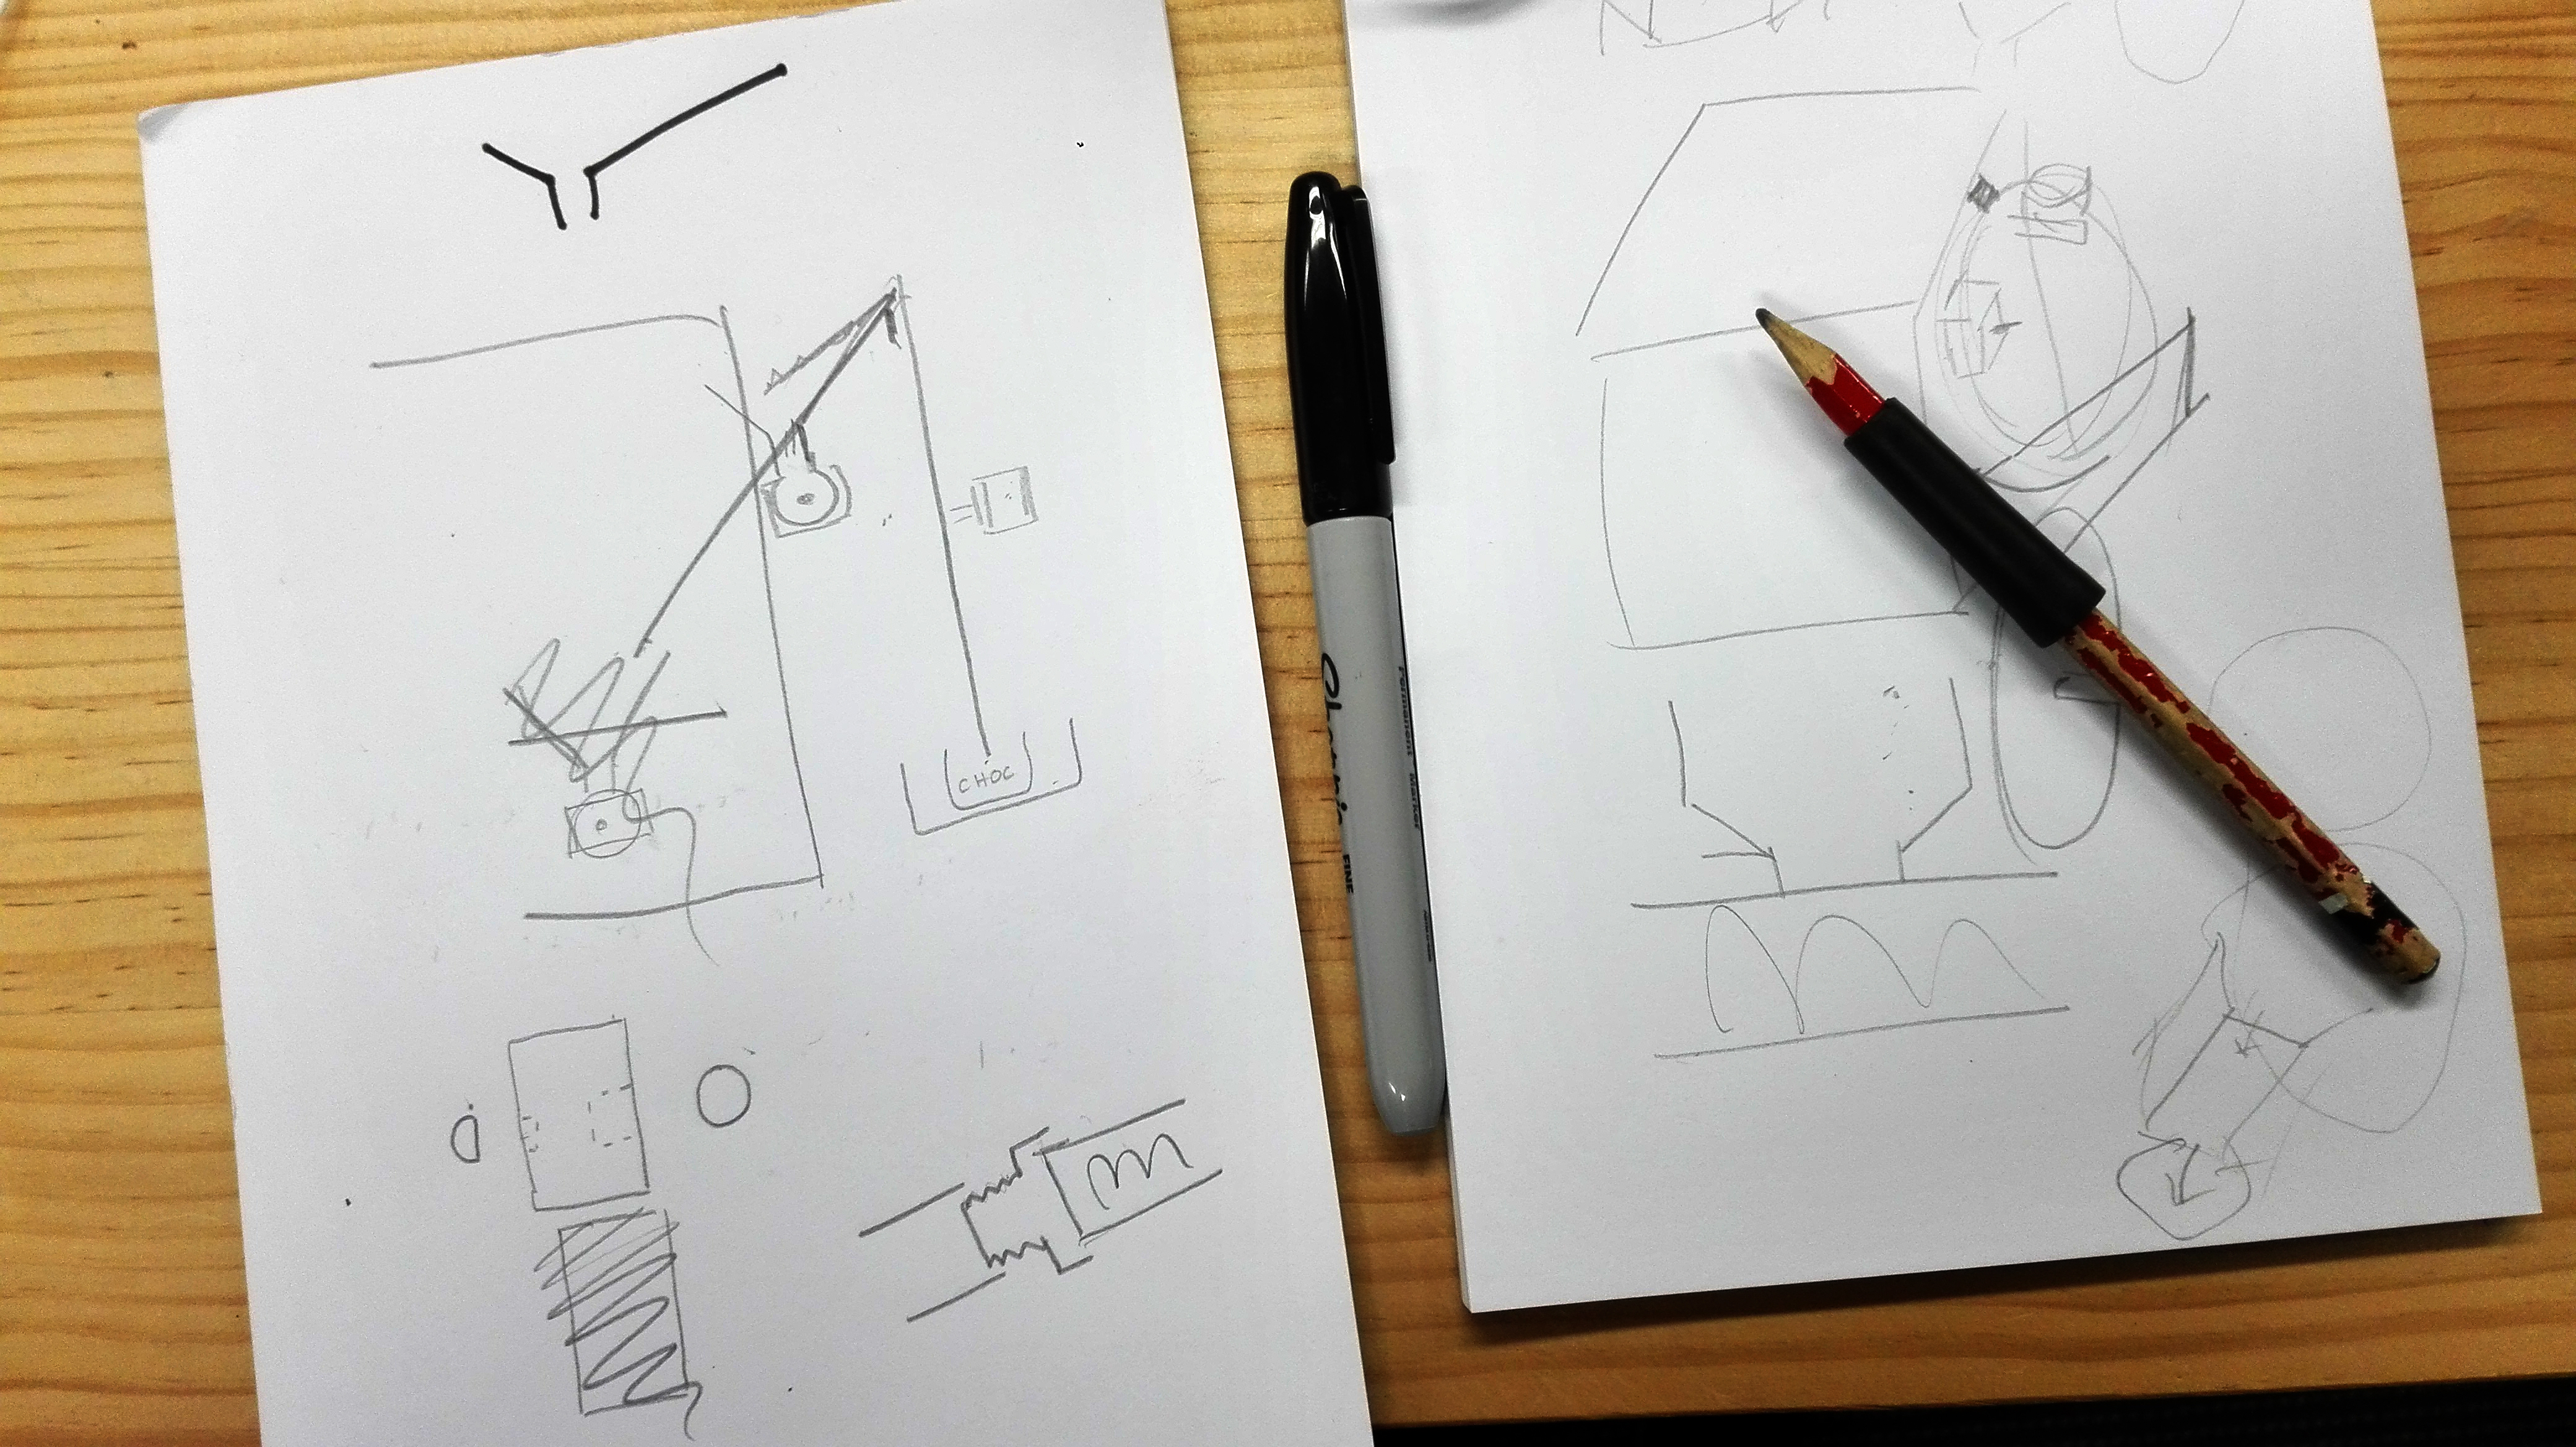
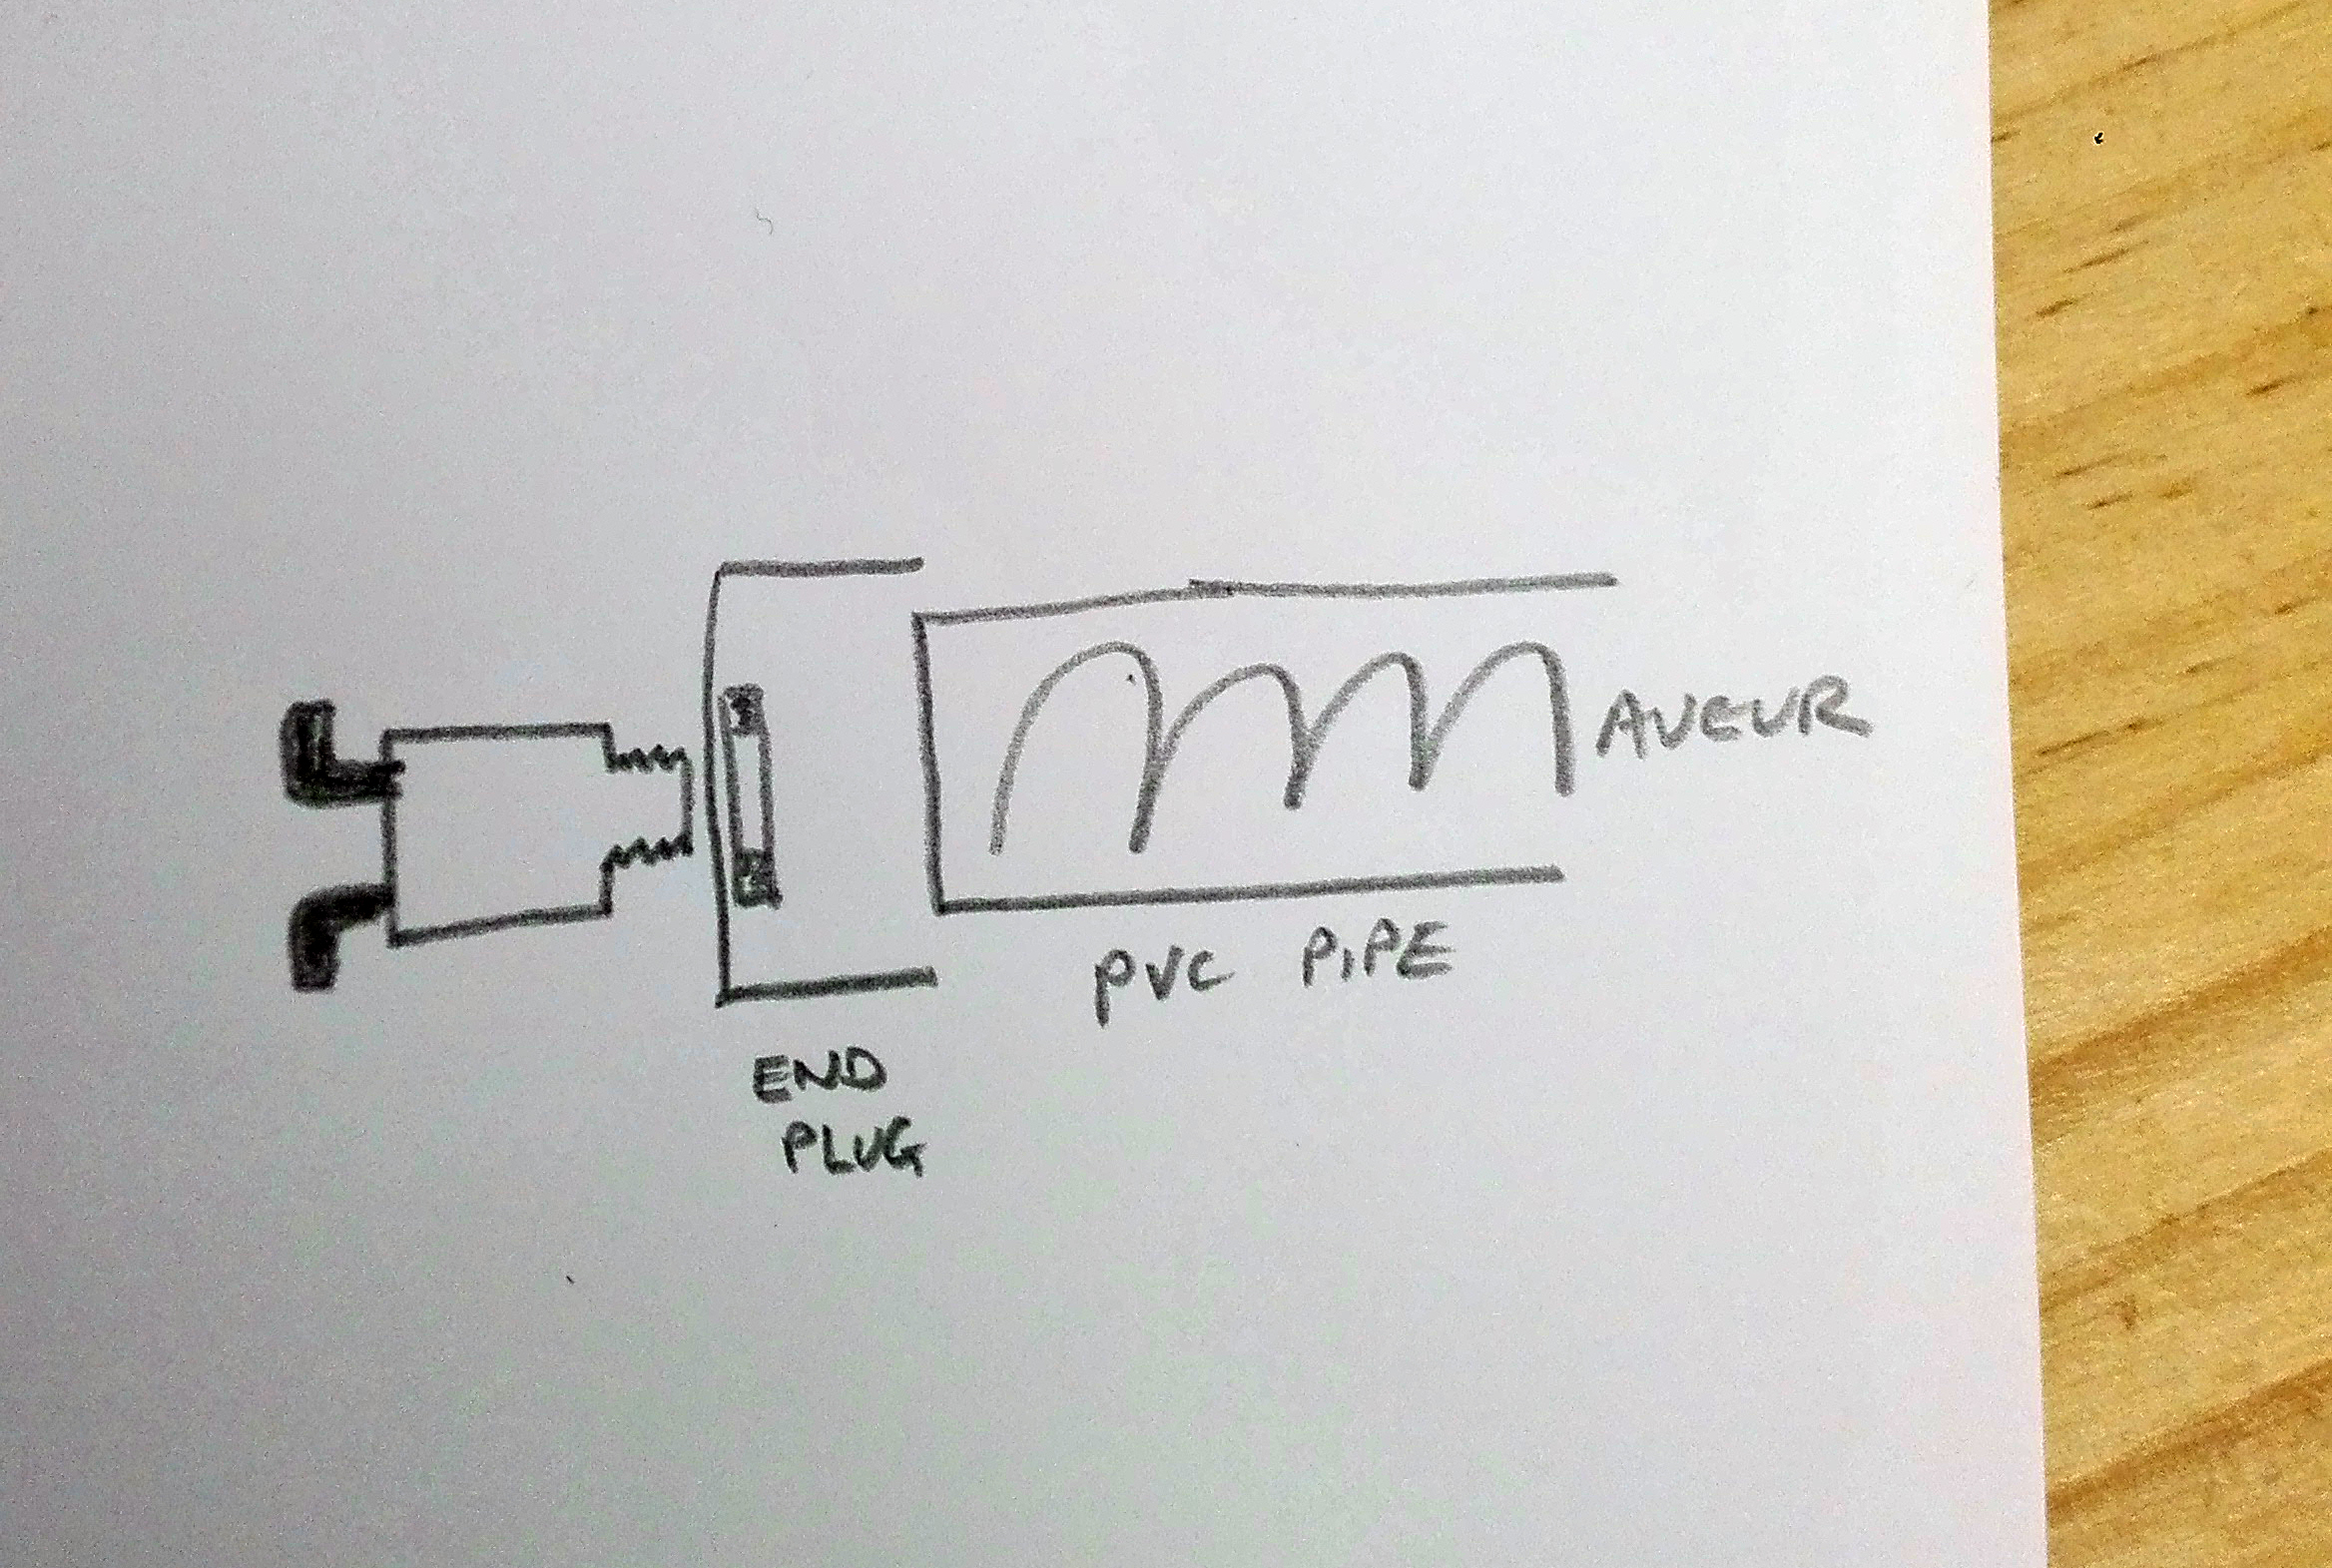
The main extruder is getting an over haul. Replacing the, current printed plastic, auger with a metal one (by way of a drill bit). This will have a plastic coupling attaching it to the stepper motor and be housed inside a PVC tube rather than a syringe. The end will have a cap acting as an adaptor to the existing nematic hose coupling. We will also be swapping the resistive nichrome wire out in favour of an induction heating system.
Mounting has been largely ignored so far, with tape and clamps being used to hold proof of concept parts together. Now we will be transitioning to mounting everything on or around the printer body, as we start to consider the system together.
Combining the tempering wheel scraper and auger funnel into one object that collects melted chocolate and moves it into the auger.
Homework for next week:
Get more chocolate
Shannon:
Finish writing this blog post
- Resize images to 800 x 600
- Upload to page
- Edit and add as you feel
Sketch or CAD any parts
Craig:
Turn notes into this blog post
Upload relay code
Bring in
- Auger drill bit
- PVC tube
- PVC end-cap
shopping list:
- Heated silicon wire (12V 60W Flexible Silicone Heating Strip 20mm x 280mm)
- Temperature sensors (DS18B20)
Andre:
Sketch up a storm
- New auger assembly
- Tempering trough design
- Mounting system
Bring meccano & induction coil