05 Feb 2016
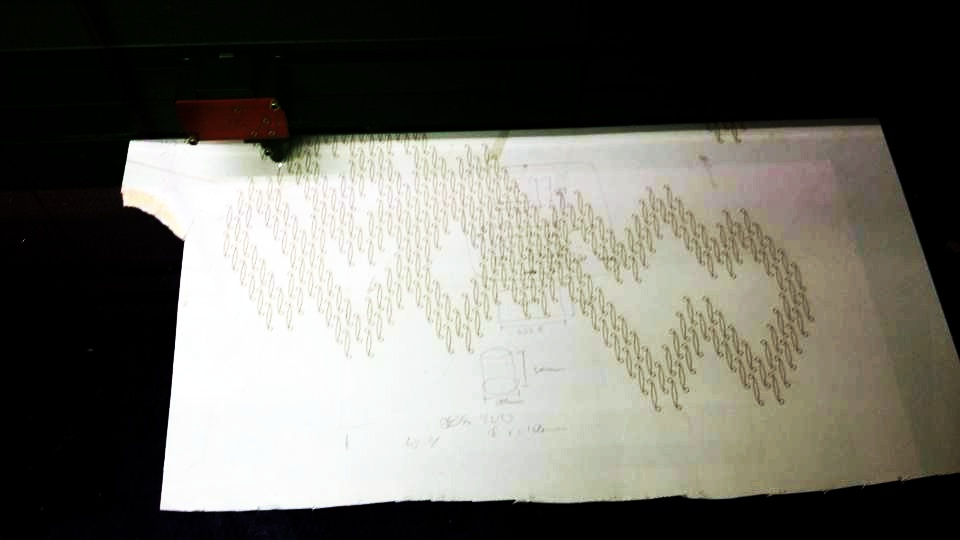
 When laser cutting our cardboard was a bit lifted up from the bed so few of them has a charcoal mark and the pattern didn’t quite make a fine cut but we managed to pull out the parts by using our nails.
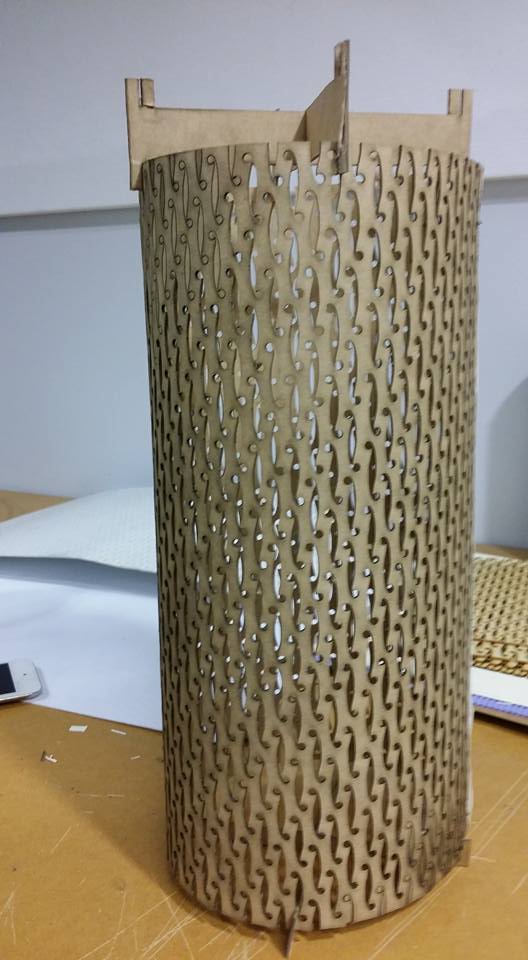 Our prototype
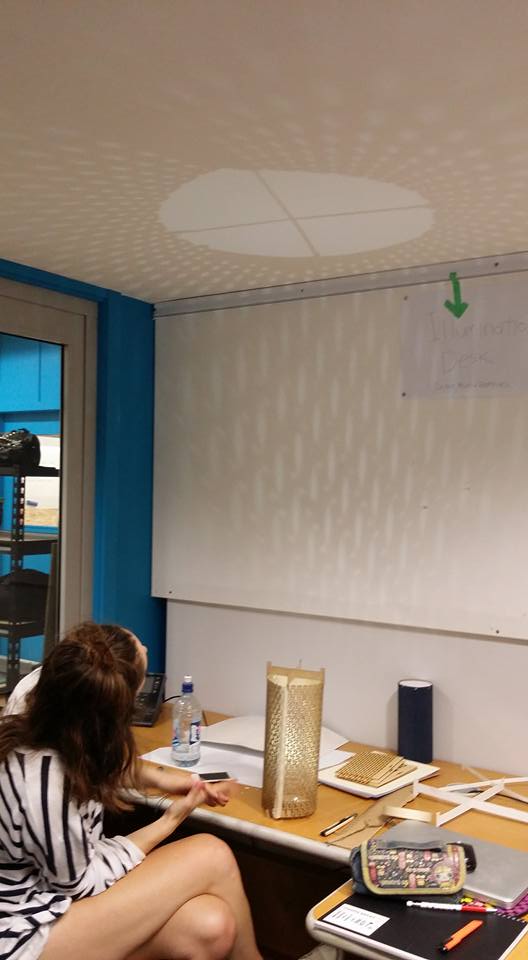 How the shades would look like. Obviously we haven’t quite laser cut 3 lamps to stack it up together but when it does we are not going to have a cross like it is showing upon the ceiling instead it will be covered with the lid with the sensor on it.
Kate had a go at making arduino but Creig is figuring out the rest of the process so we cannot do anything for it until Creig figures out how to.
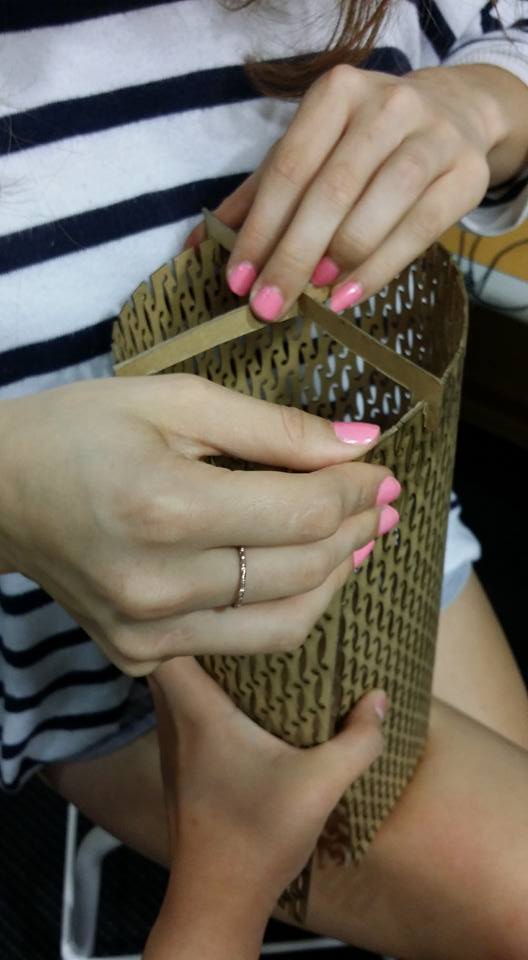
For our model we are still figuring out how to join the edges for the body (so it makes full cylinder without tapping or holding).
05 Feb 2016
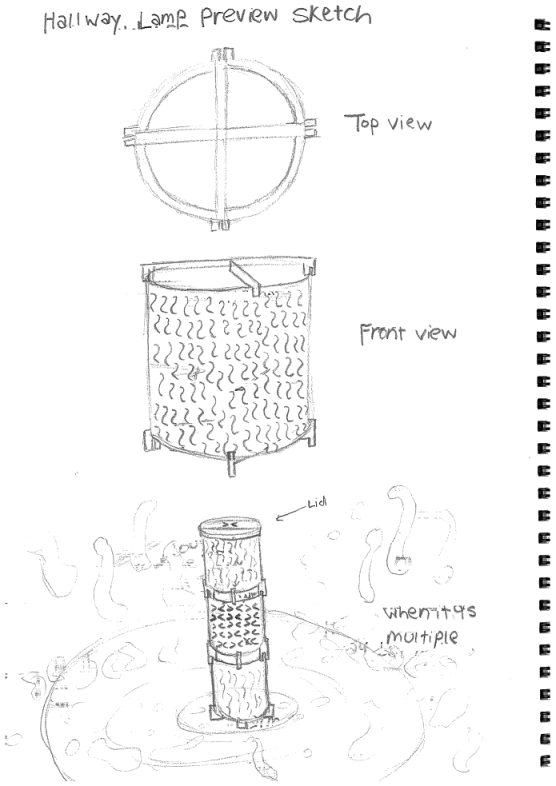 Here are the sketches of the lamp
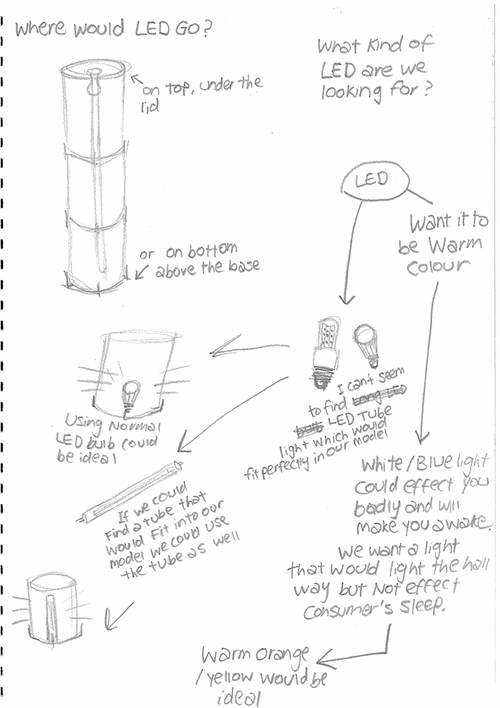 Now the outlook/ body of the lamp is made we have to think about how to put sensors and led lights together. Our prototype is big enough to put this things in. We want LED light with warm orange/yellow colour so it doesn’t disturb people’s eyes too much.
04 Feb 2016
 Kate had figured out the diameter of the circle and made a actual sized prototype in illustrator.
 Now we know that our pattern bends so we are making a prototype in actual size with the cardboard.
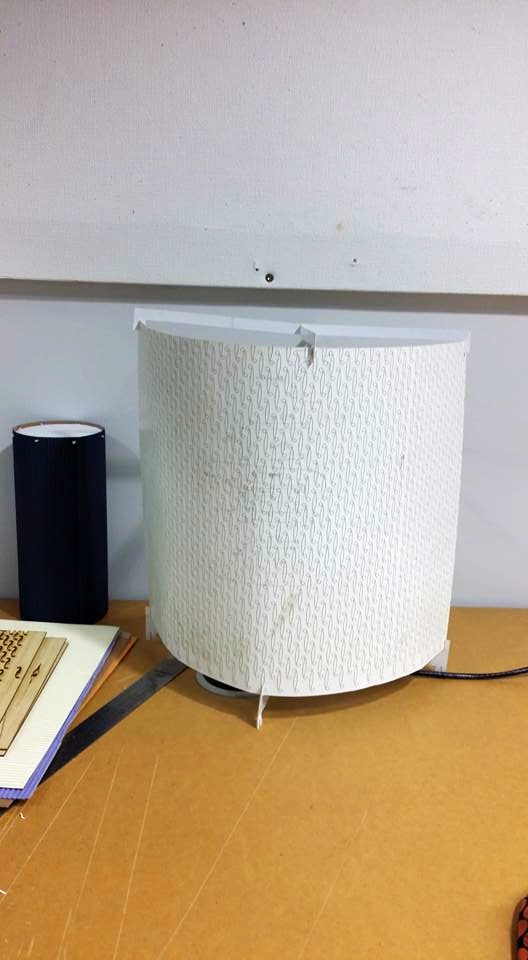
 Instead of making a full sized cyliner lamp we made half opened lamp by mistake.
We need at least half longer sized body and next time when we are laser cutting we have to increase the power in order to get a nice cut. At the moment the shape is all engraved but it hasn’t cut through properly!.
Instead of making a full sized cyliner lamp we made half opened lamp by mistake.
We need at least half longer sized body and next time when we are laser cutting we have to increase the power in order to get a nice cut. At the moment the shape is all engraved but it hasn’t cut through properly!.
What we have to do for making prototype:
-reduce down the size of the lamp but increase the height of the lamp so it is more narrower.
-increase power of laser cutting to get a fine cut
-add half more length for the body in order to make full circular shape.
-When everything is done trying it out of bamboo
04 Feb 2016
 As a team we did laser cutting session with Creig
 and then we had a go at lasercutting together. We have used bamboo as our material and realized there are no such setting for to cut bamboo.
We have used 4mm poplar setting and reduced down the power of Red and Blue, while cutting it with laser we noticed that it would have been faster if we increased the speed instead of decresing the setting.
and then we had a go at lasercutting together. We have used bamboo as our material and realized there are no such setting for to cut bamboo.
We have used 4mm poplar setting and reduced down the power of Red and Blue, while cutting it with laser we noticed that it would have been faster if we increased the speed instead of decresing the setting.
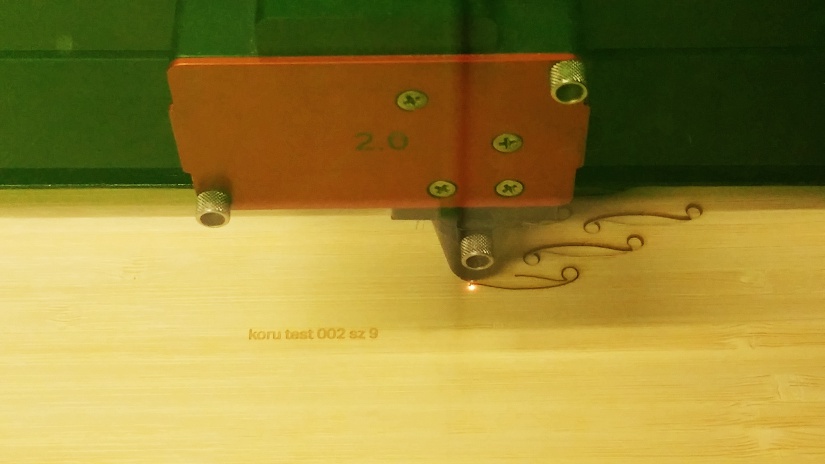
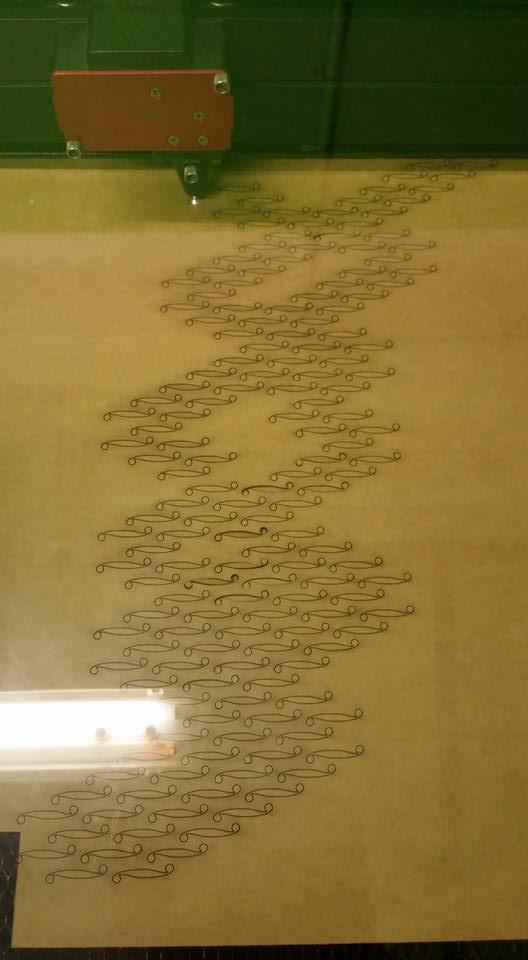
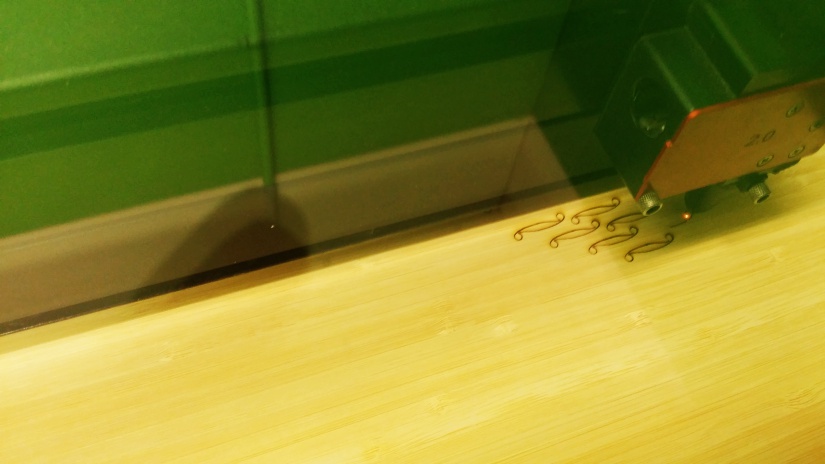 Laser cutting Koru pattern
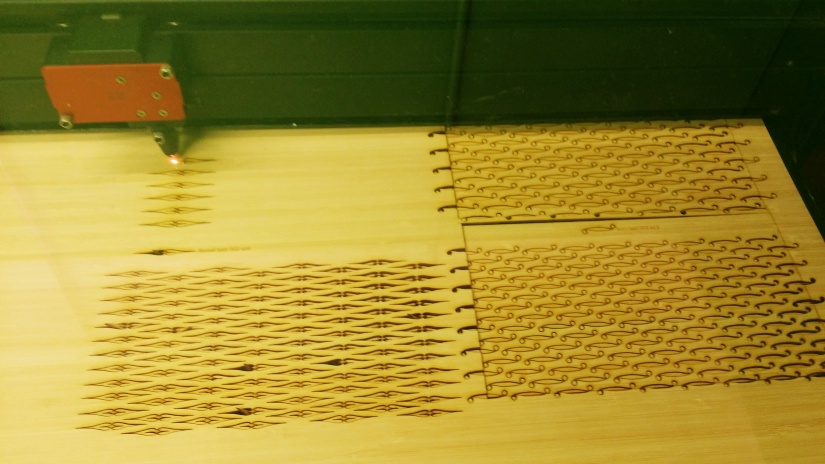 Laser cutting Fantail pattern
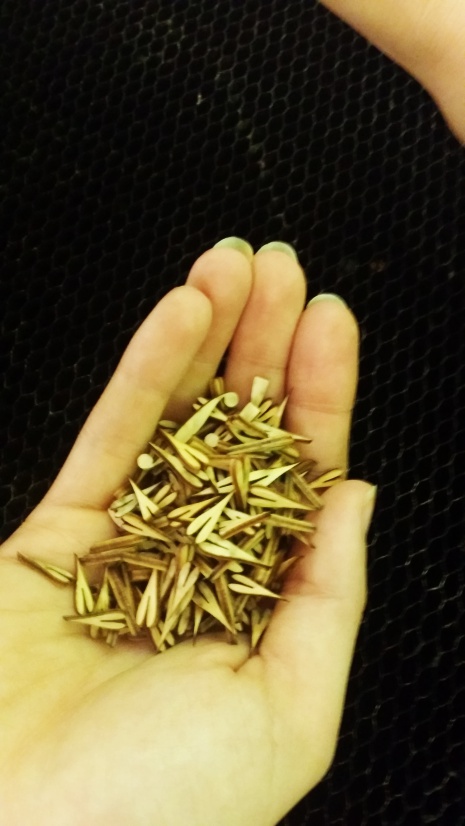 Cleaning up scraps
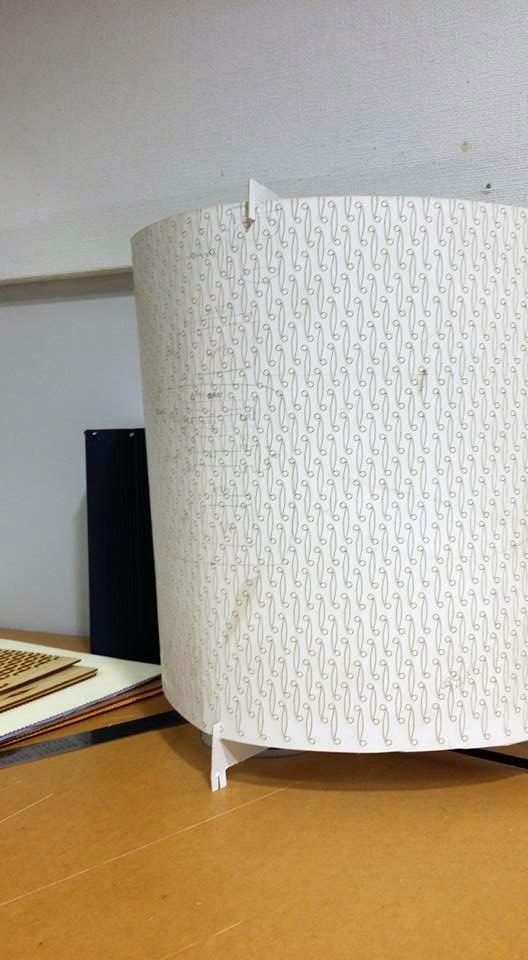
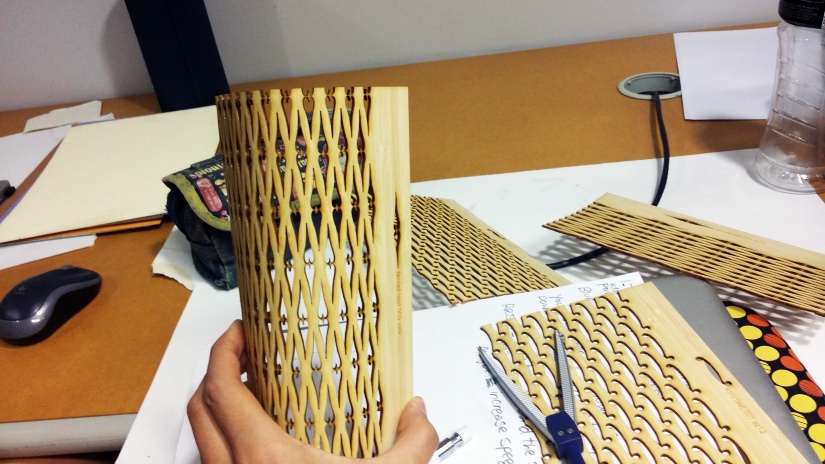 How it might actually look like if it was bended into cylinder shape.
Our prototype hasn’t got any charcoal marks but it has a bit of tan around the shape. We could easily fix this by increasing the speed.
How it might actually look like if it was bended into cylinder shape.
Our prototype hasn’t got any charcoal marks but it has a bit of tan around the shape. We could easily fix this by increasing the speed.
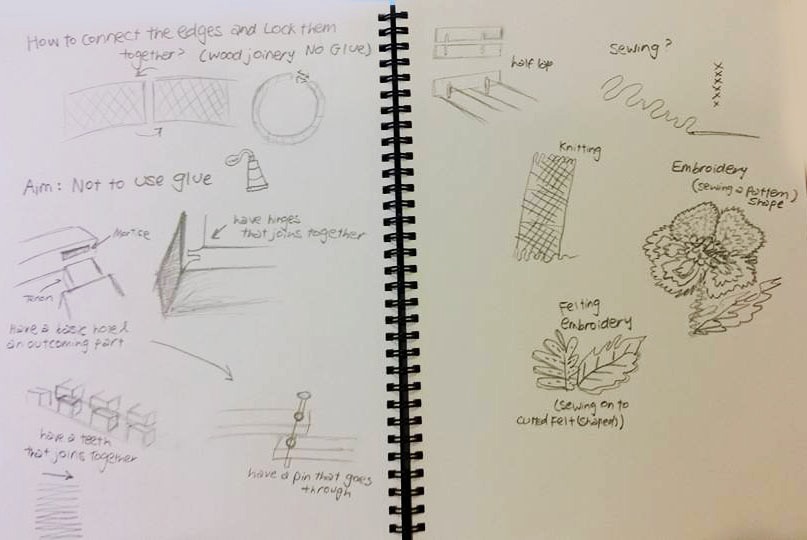 Here I have sketched some ways to connect each end.
 Here are some examples that uses the wood joinery idea.
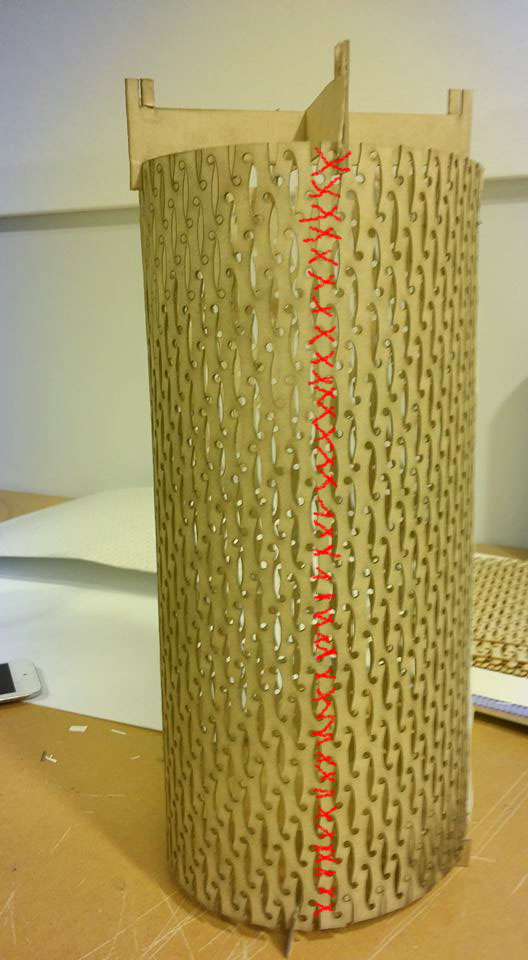 Stitching
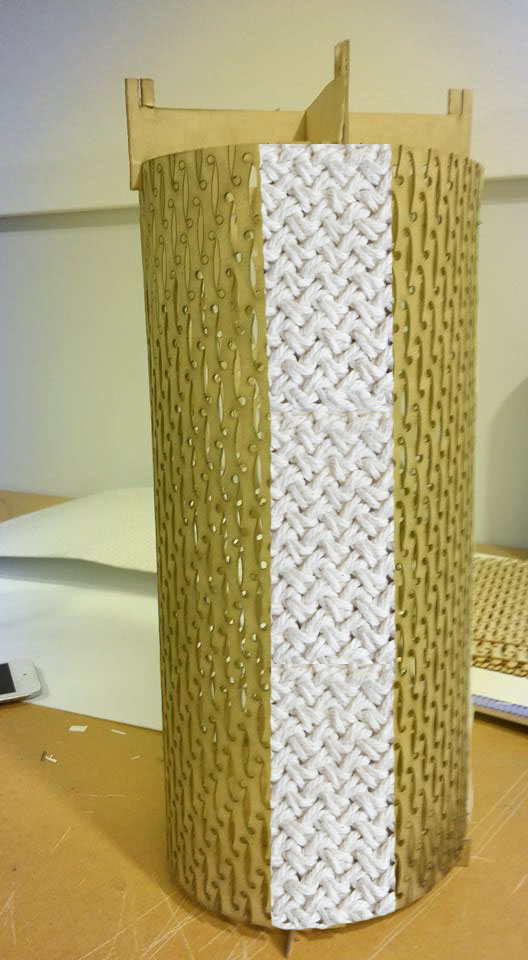 Knitting
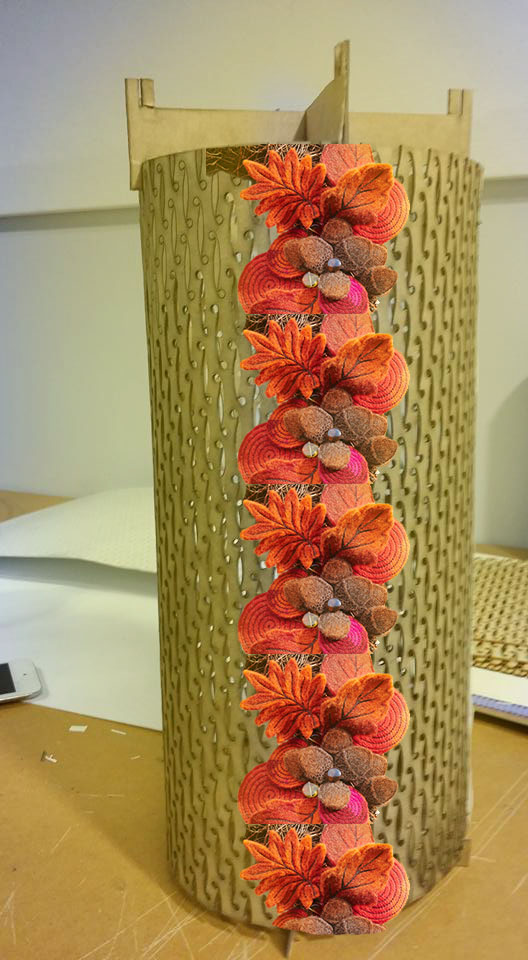 Felting Embroidery
 Embroidery