How we made our DIY biolab…
First of all, we made a little test lab. It was ~1200mm x 1500mm, just big enough to fit a standing desk and a person in it. We gave the whole area a very good clean, and then when we enclosed it, we gave it another good clean. We enclosed it with 0.5mm thick clear plastic curtains, that crossed over each other by about 150-200mm. We also made a 50mm ‘hem’ on the bottom edge, using double sided tape to adhere it to the curtain, making it it heavier so that it wouldn’t move as much.
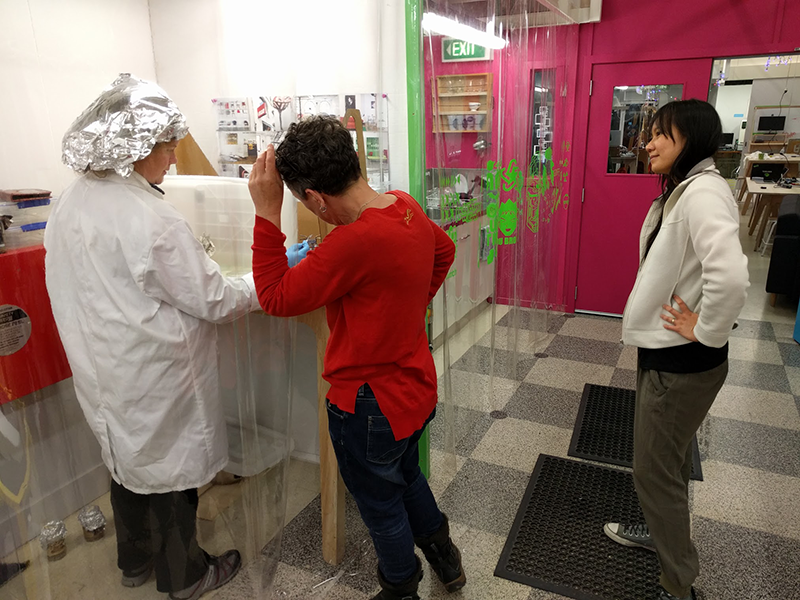
You can see in the image above, Alison is inside the Lab (with foil over her hair), and Jasmin and I are looking on from the outside. The test lab was right next to our ‘compost lab’, which has the same curtains. The clear curtains were really helpful in that we could see what was going on without compromising the sterile environment. This is also our ‘noise & dust’ room, where we have the shopbot and some other equipment that makes a mess, so you can imagine that we were very concerned to keep the test lab as clean as possible.
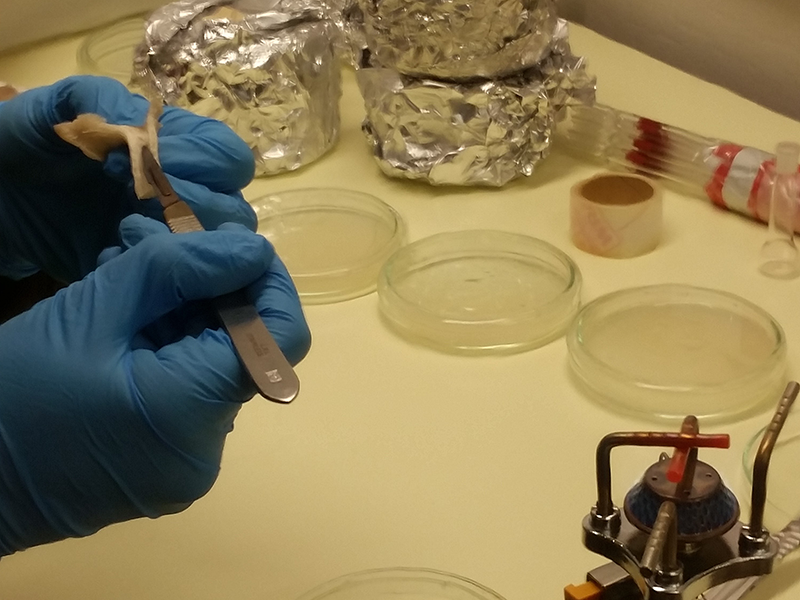
At this stage, we were using a large plastic container on its side on the desk as our sterile work space. We would put the lid on the container, turn on the UV light (without the protective cover) inside it for 20 minutes before we started working. Around it you might be able to see our cardboard mock-up of the laminar flow we were designing.
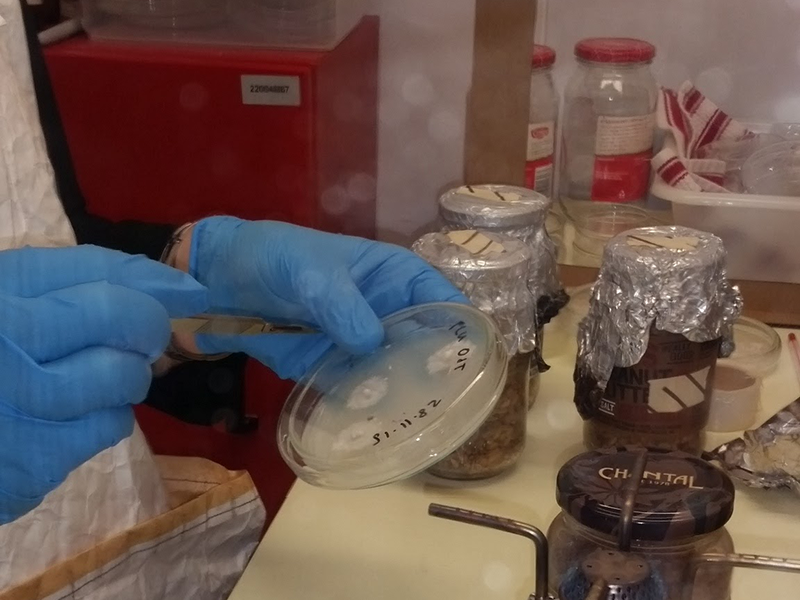
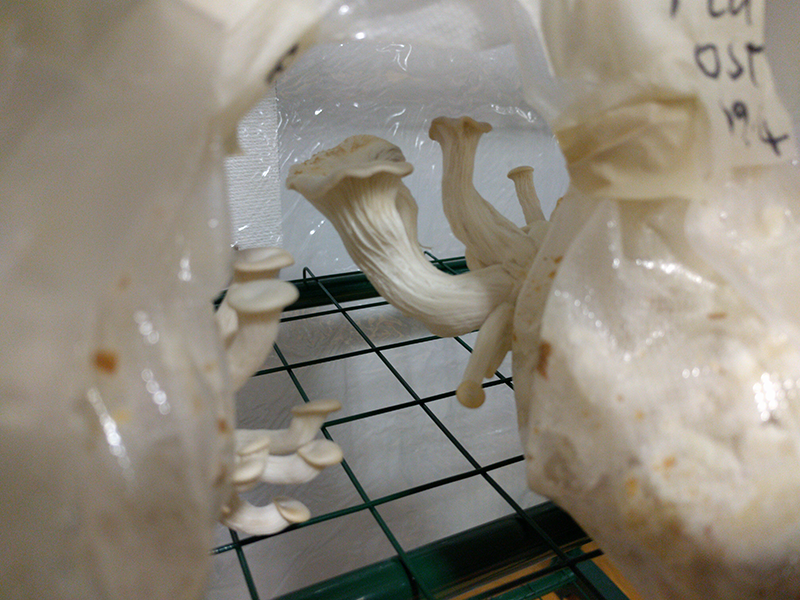
We used the test lab for a few months, and were able to get a ~30% success rate creating pure cultures, innoculating grainspawn and growing mushrooms.
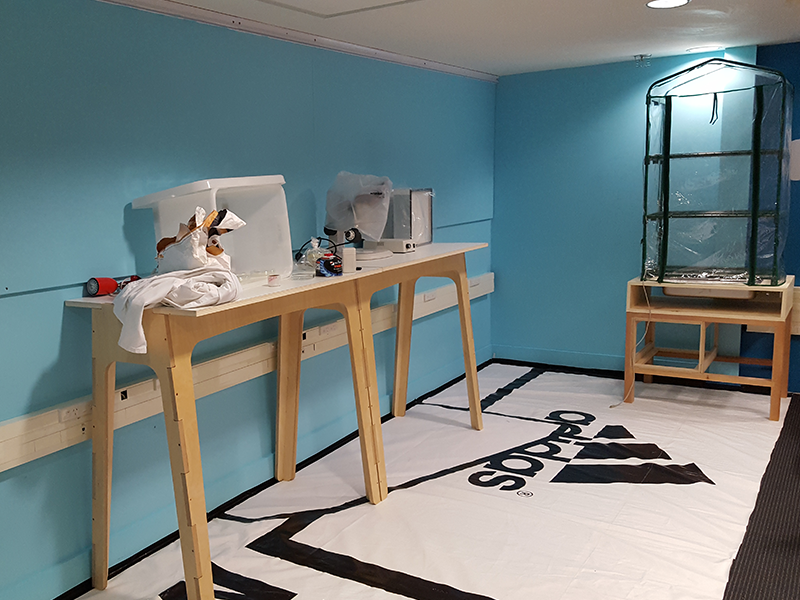
Our aim is to have at least 60% success rate, so we needed to finish off our laminar flow and make a bigger and cleaner lab. So, we started on a new space. It took quite a bit of planning and preparation. The space we have isolated is ~5000mm x 1800mm, and we painted the walls and covered the carpet with a big PVC billboard sign.